
TRAVEL THERE: THE DIA IS A FEAST FOR THE EYES
Finally, An Art Museum
I am the Museum Girl. I want to get up early, to be there when they open, and I could happily stay until they close, especially if they have cool restaurants to enjoy. While this little trip to Detroit had been lovely in a number of ways, the schedules of my top choices were not cooperating with me.
If I’d had my druthers, we’d have been to the Motown Museum, the living museum of Greenfield Village and more, but they weren’t open when we had time to see them. Some of the things I wanted to see, like the Conservatory on Belle Island were being remodeled. What I had seen was nice, but it was secondary and tertiary selections, because the family events took first place and keeping Bill happy took second.
I had one non-negotiable though. If I did nothing else, I wanted to see the Detroit Institute of Art and finally the time to do that had arrived.
Remnant of a Glorious Past
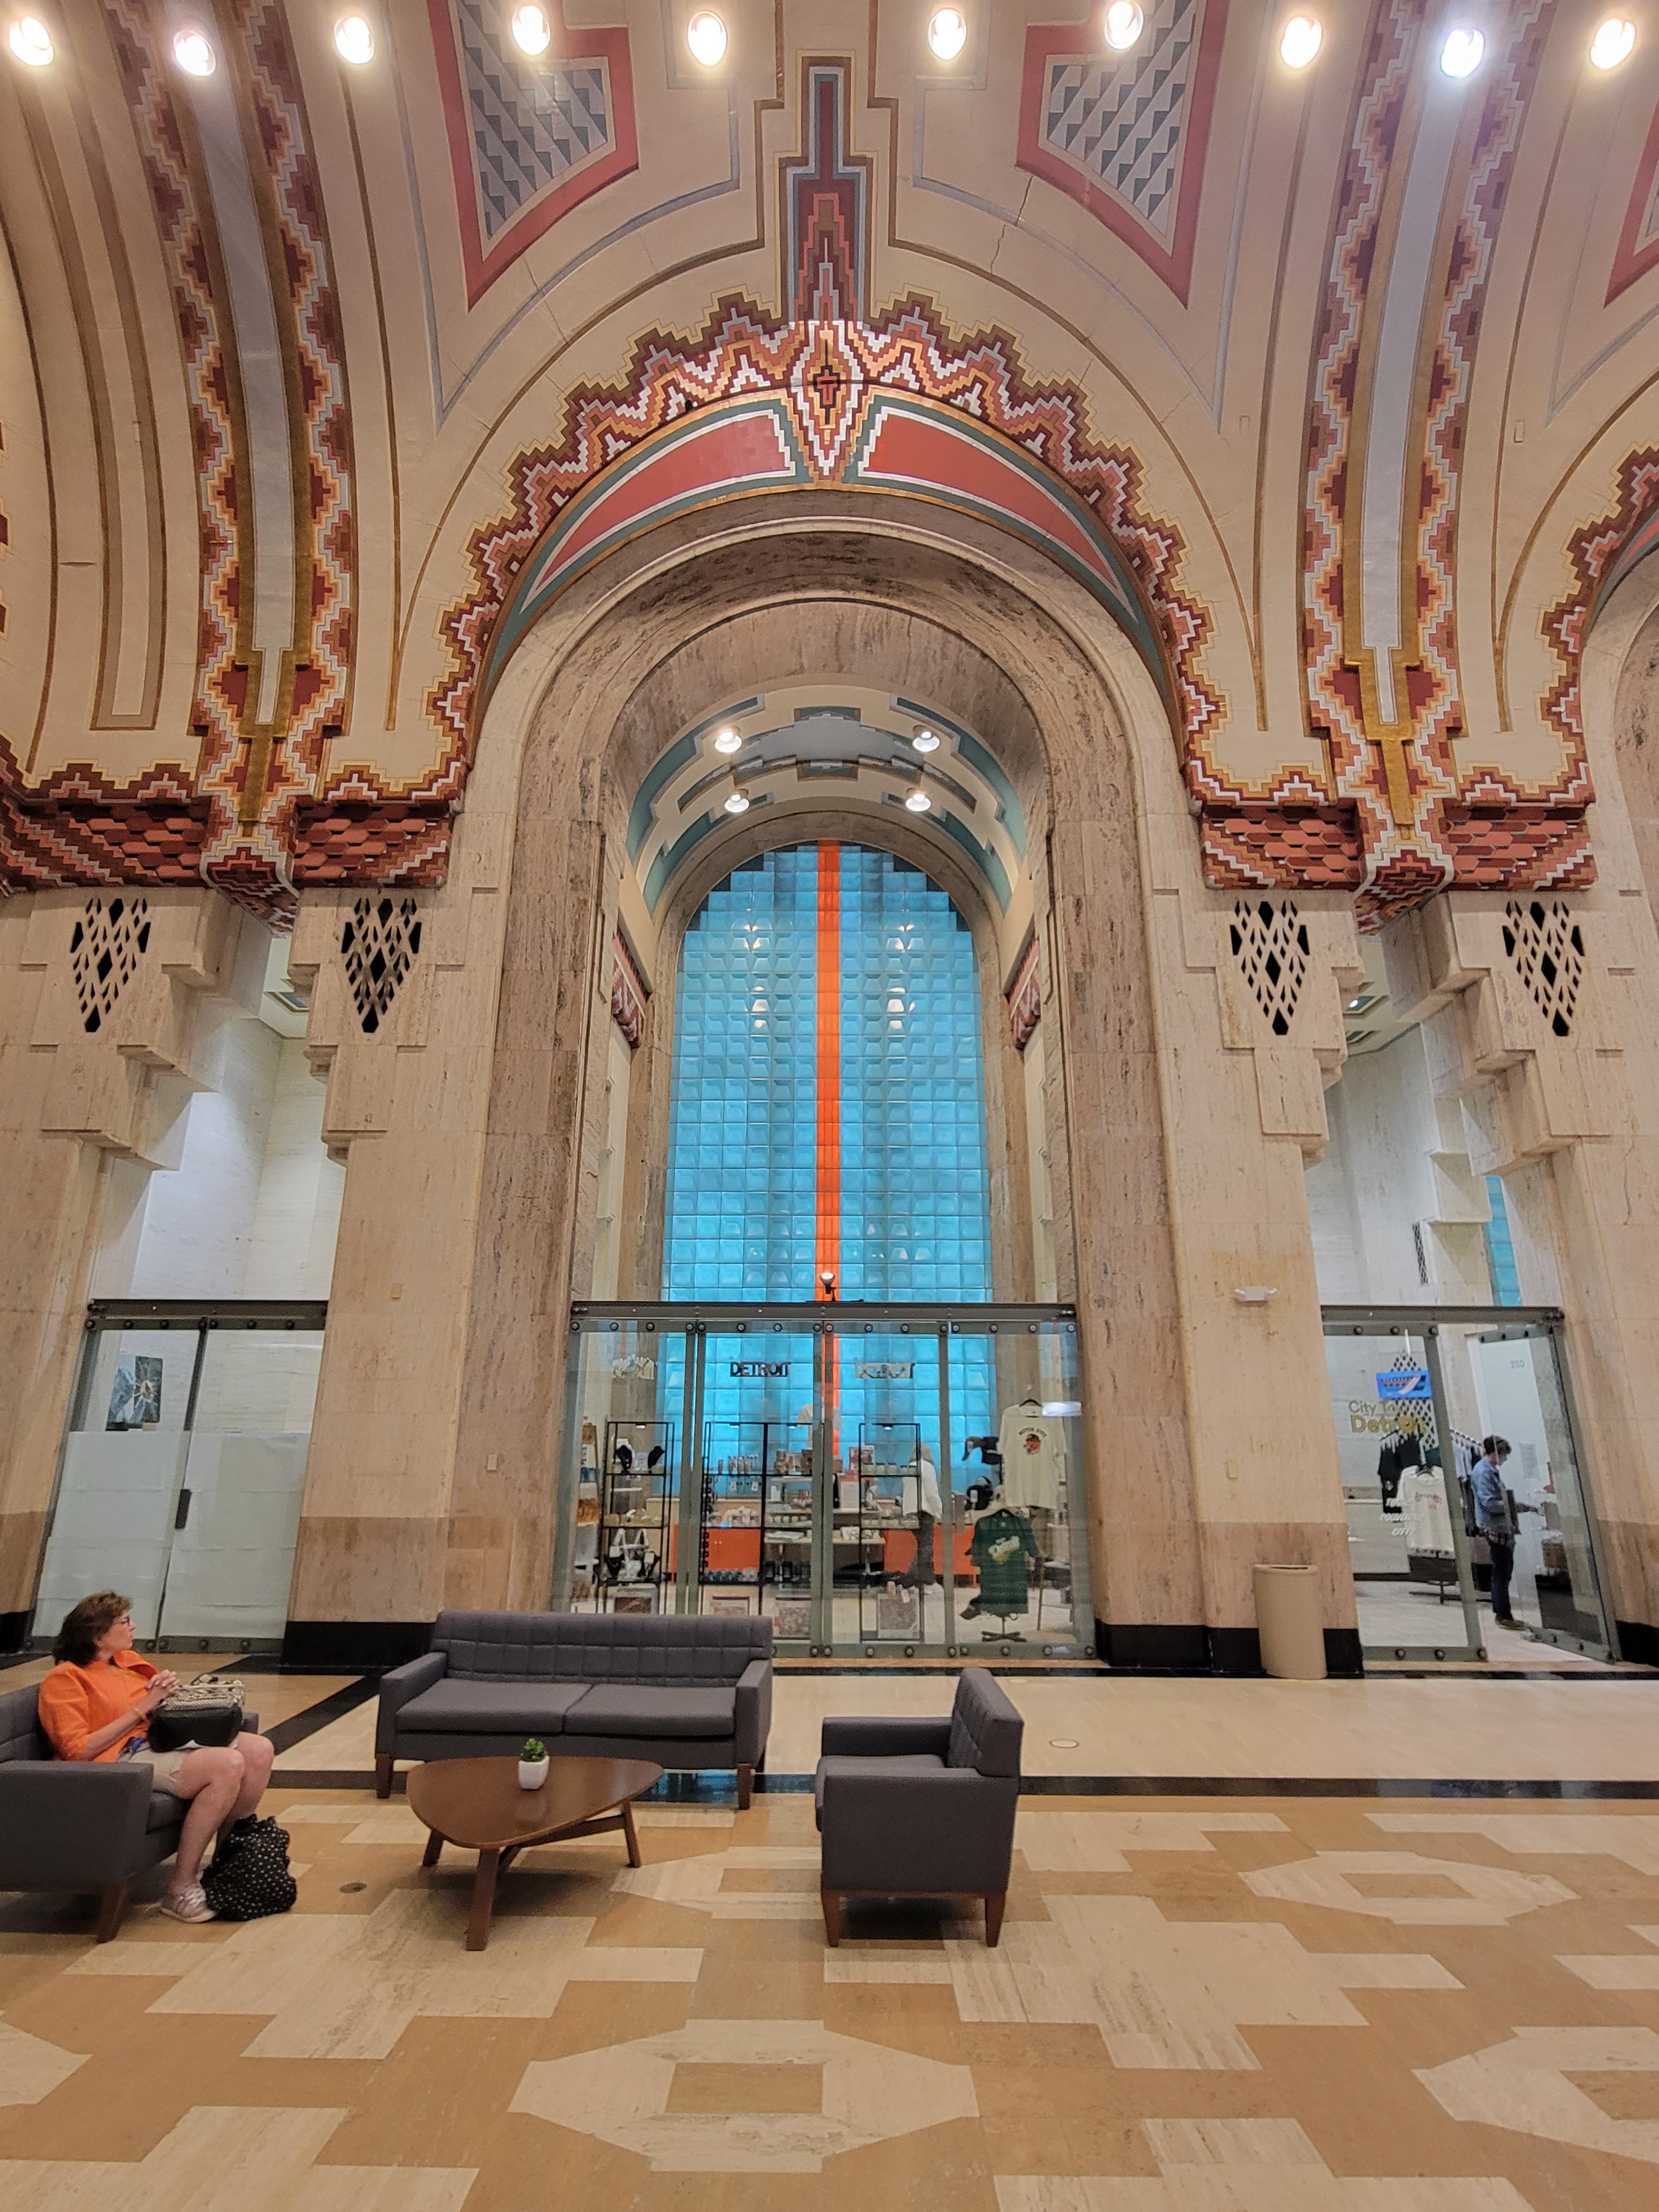
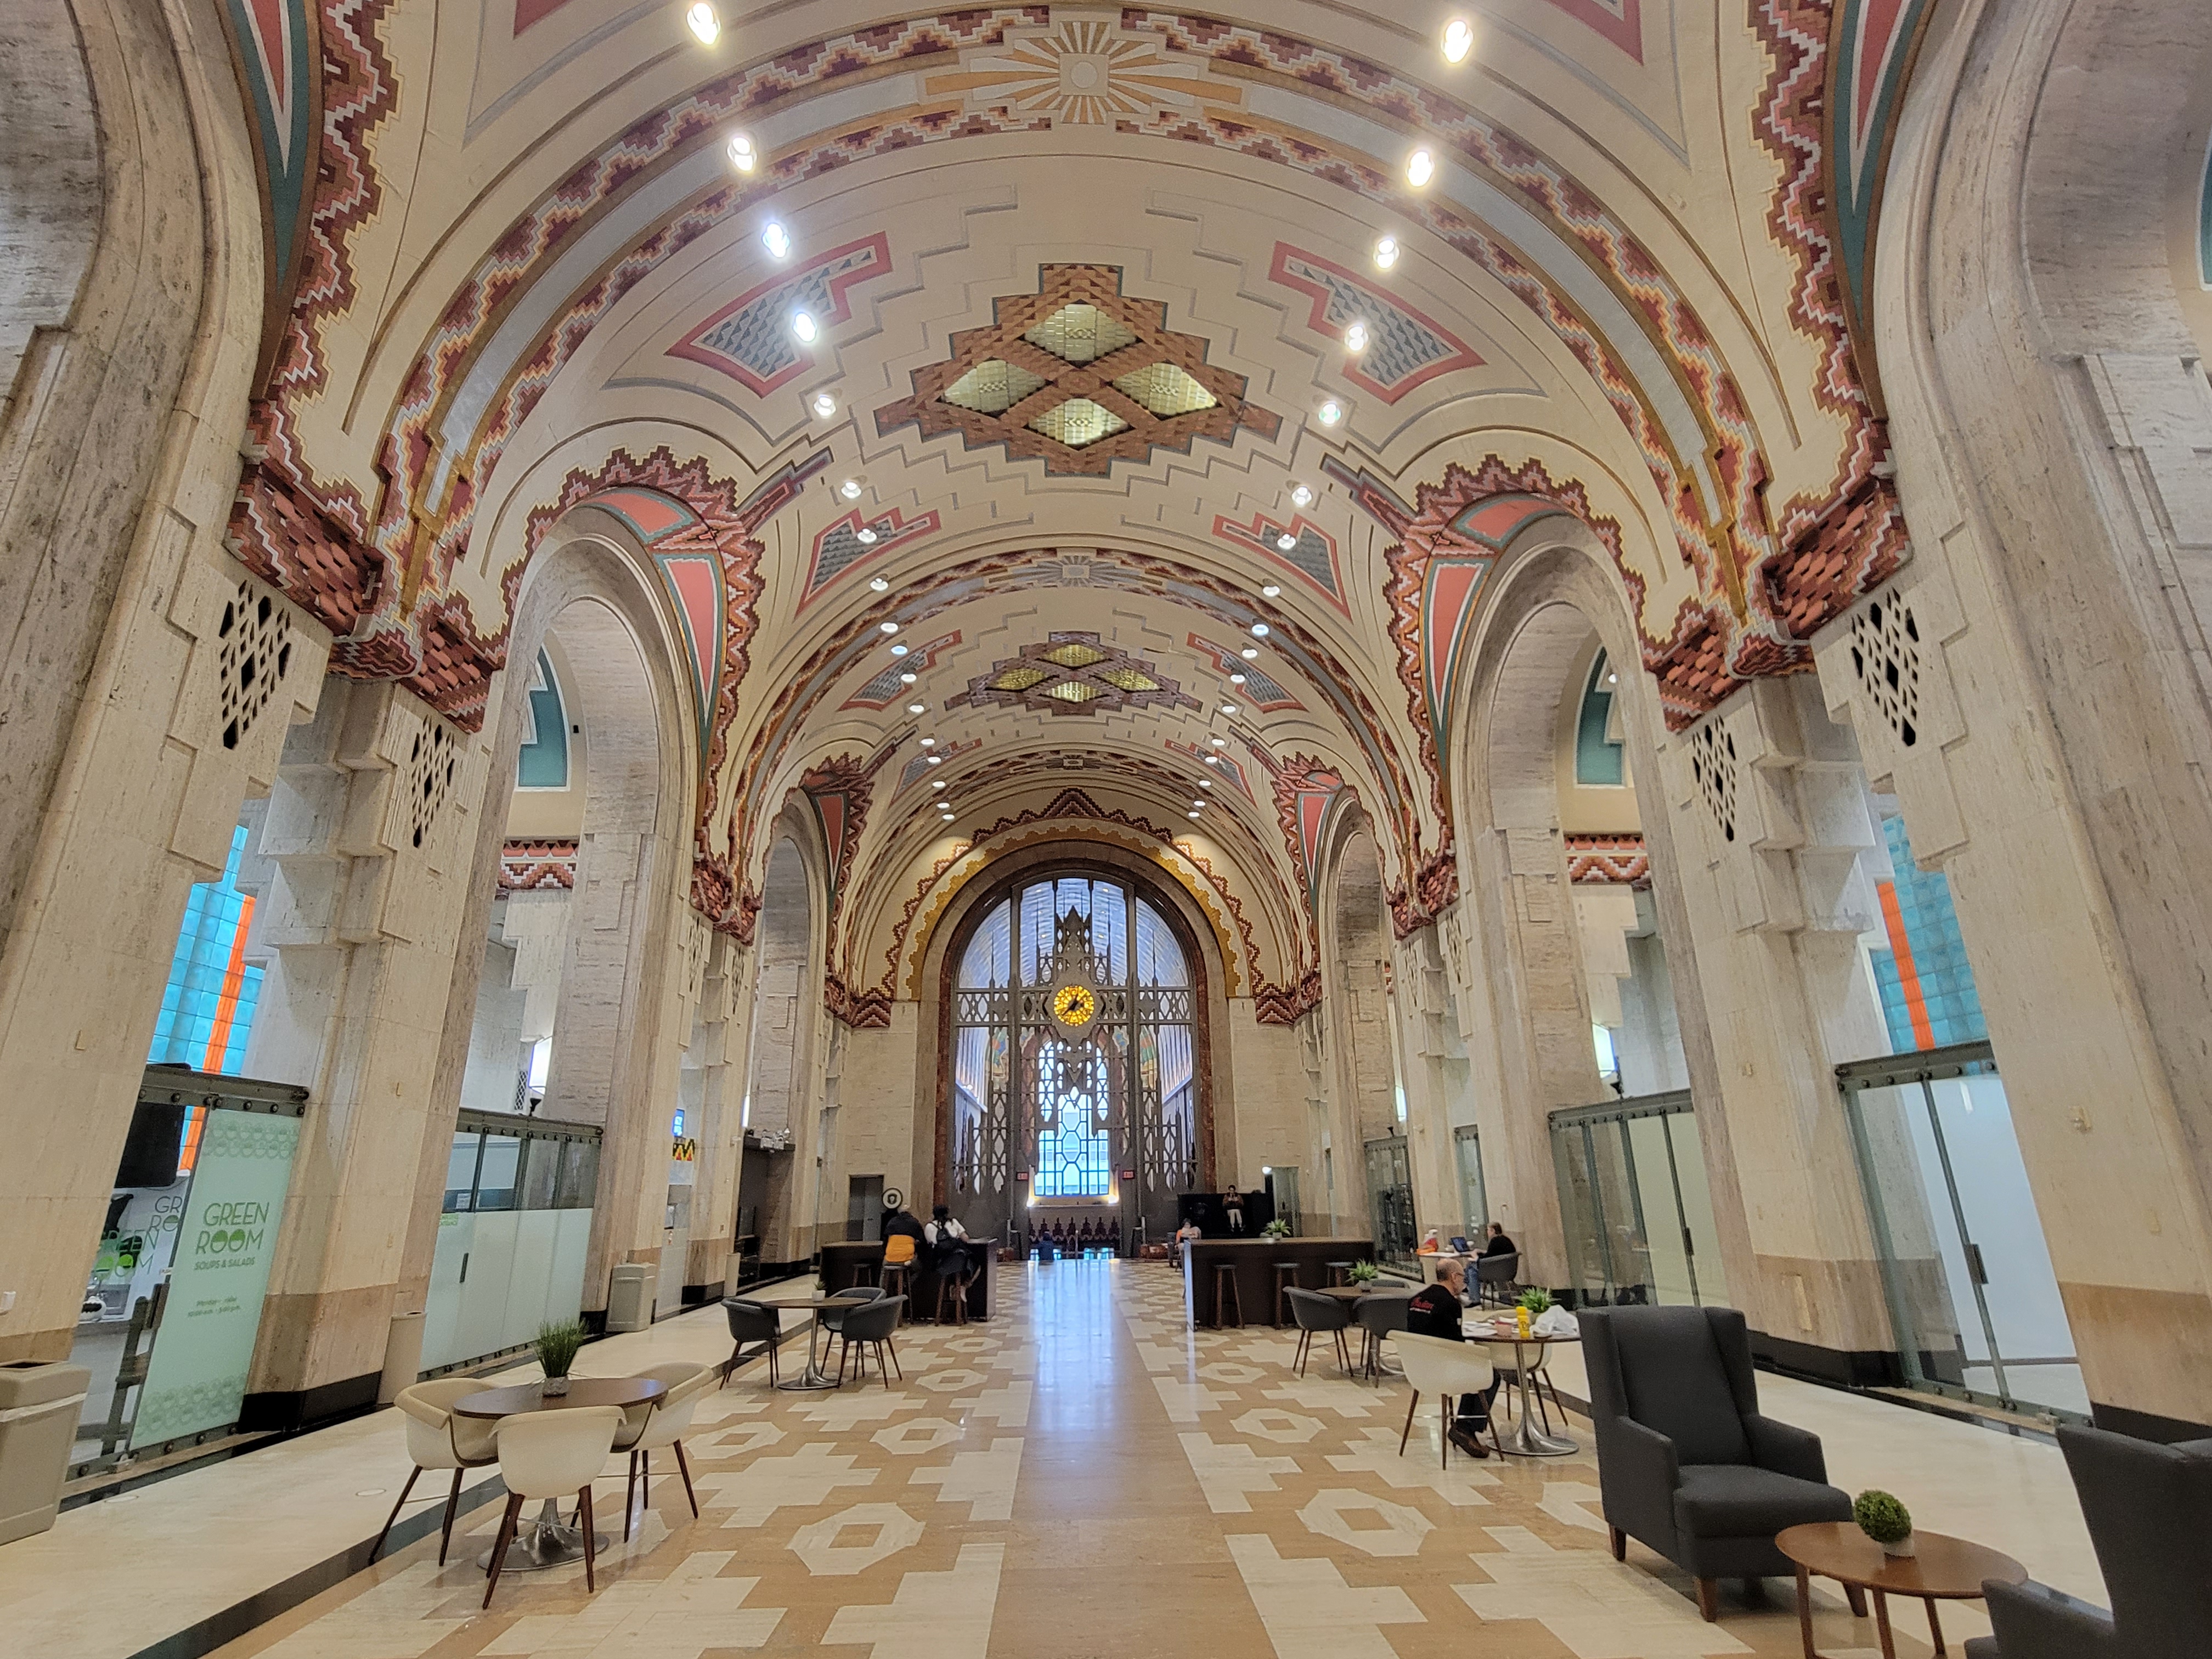
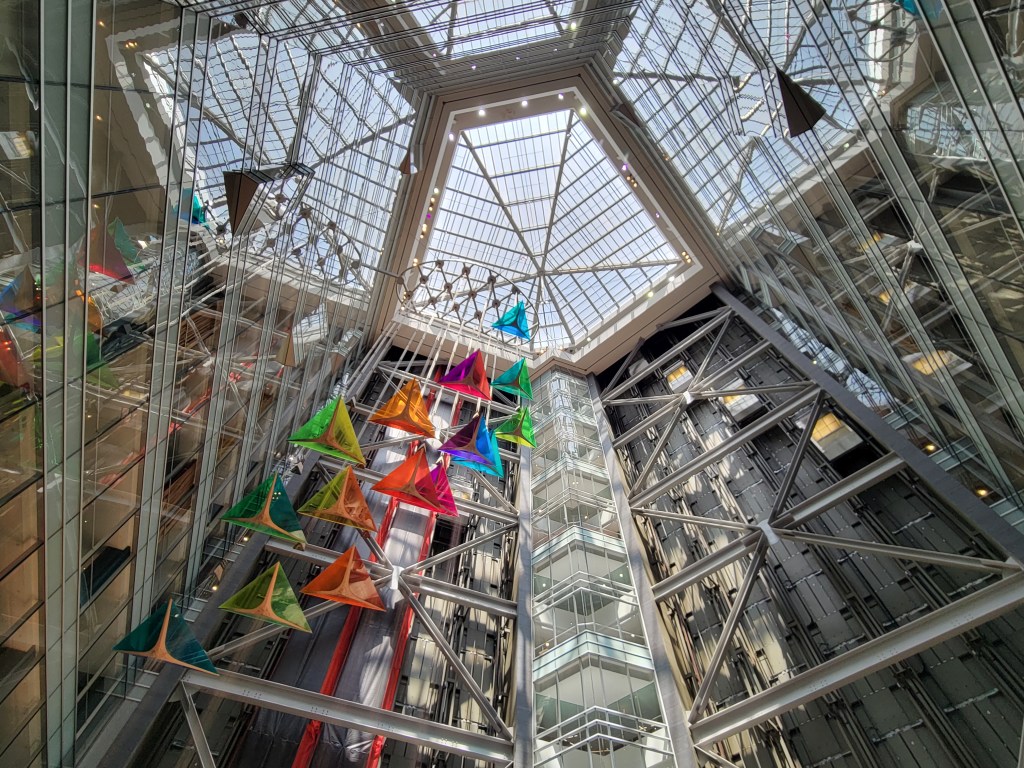
About the time they were building The Guardian Building I enjoyed so much downtown, Detroit was almost the center of the world. Americans flocked there for vacation like we go to New York, Chicago or San Fran. It’s where all the best shows were performed, the shopping was wonderful and the Detroit Institute of Art reigned the cultural world. The men went to smoky offices to discuss commerce and the women spent their money after a visit to the museum.
The DIA retains all the beauty of her former glory and she’s making a comeback in the world of museums. The city of Detroit went through some pretty tough days. It wasn’t just the Renaissance Center and the Guardian Building which seemed like a ghost town. The whole of Detroit almost disappeared and her cultural jewels could have been up for grabs, but she held on and now her art museum is back to its former glory and bragging about all the improvements they have in the works.
The DIA is a wonderful place to go if you want to see classical art in America. They were one of those museums which bought all the good stuff up before later cities could get their share. I once heard a curator at the Dallas Museum of Art answer a question about their lack of important classical pieces, “How could an important, wealthy city, like Dallas, have so few recognizable classical pieces?” The curator explained that when the DMA started collecting art, those recognizable classical pieces already had home in Europe and a few American museums – museums like the DIA.
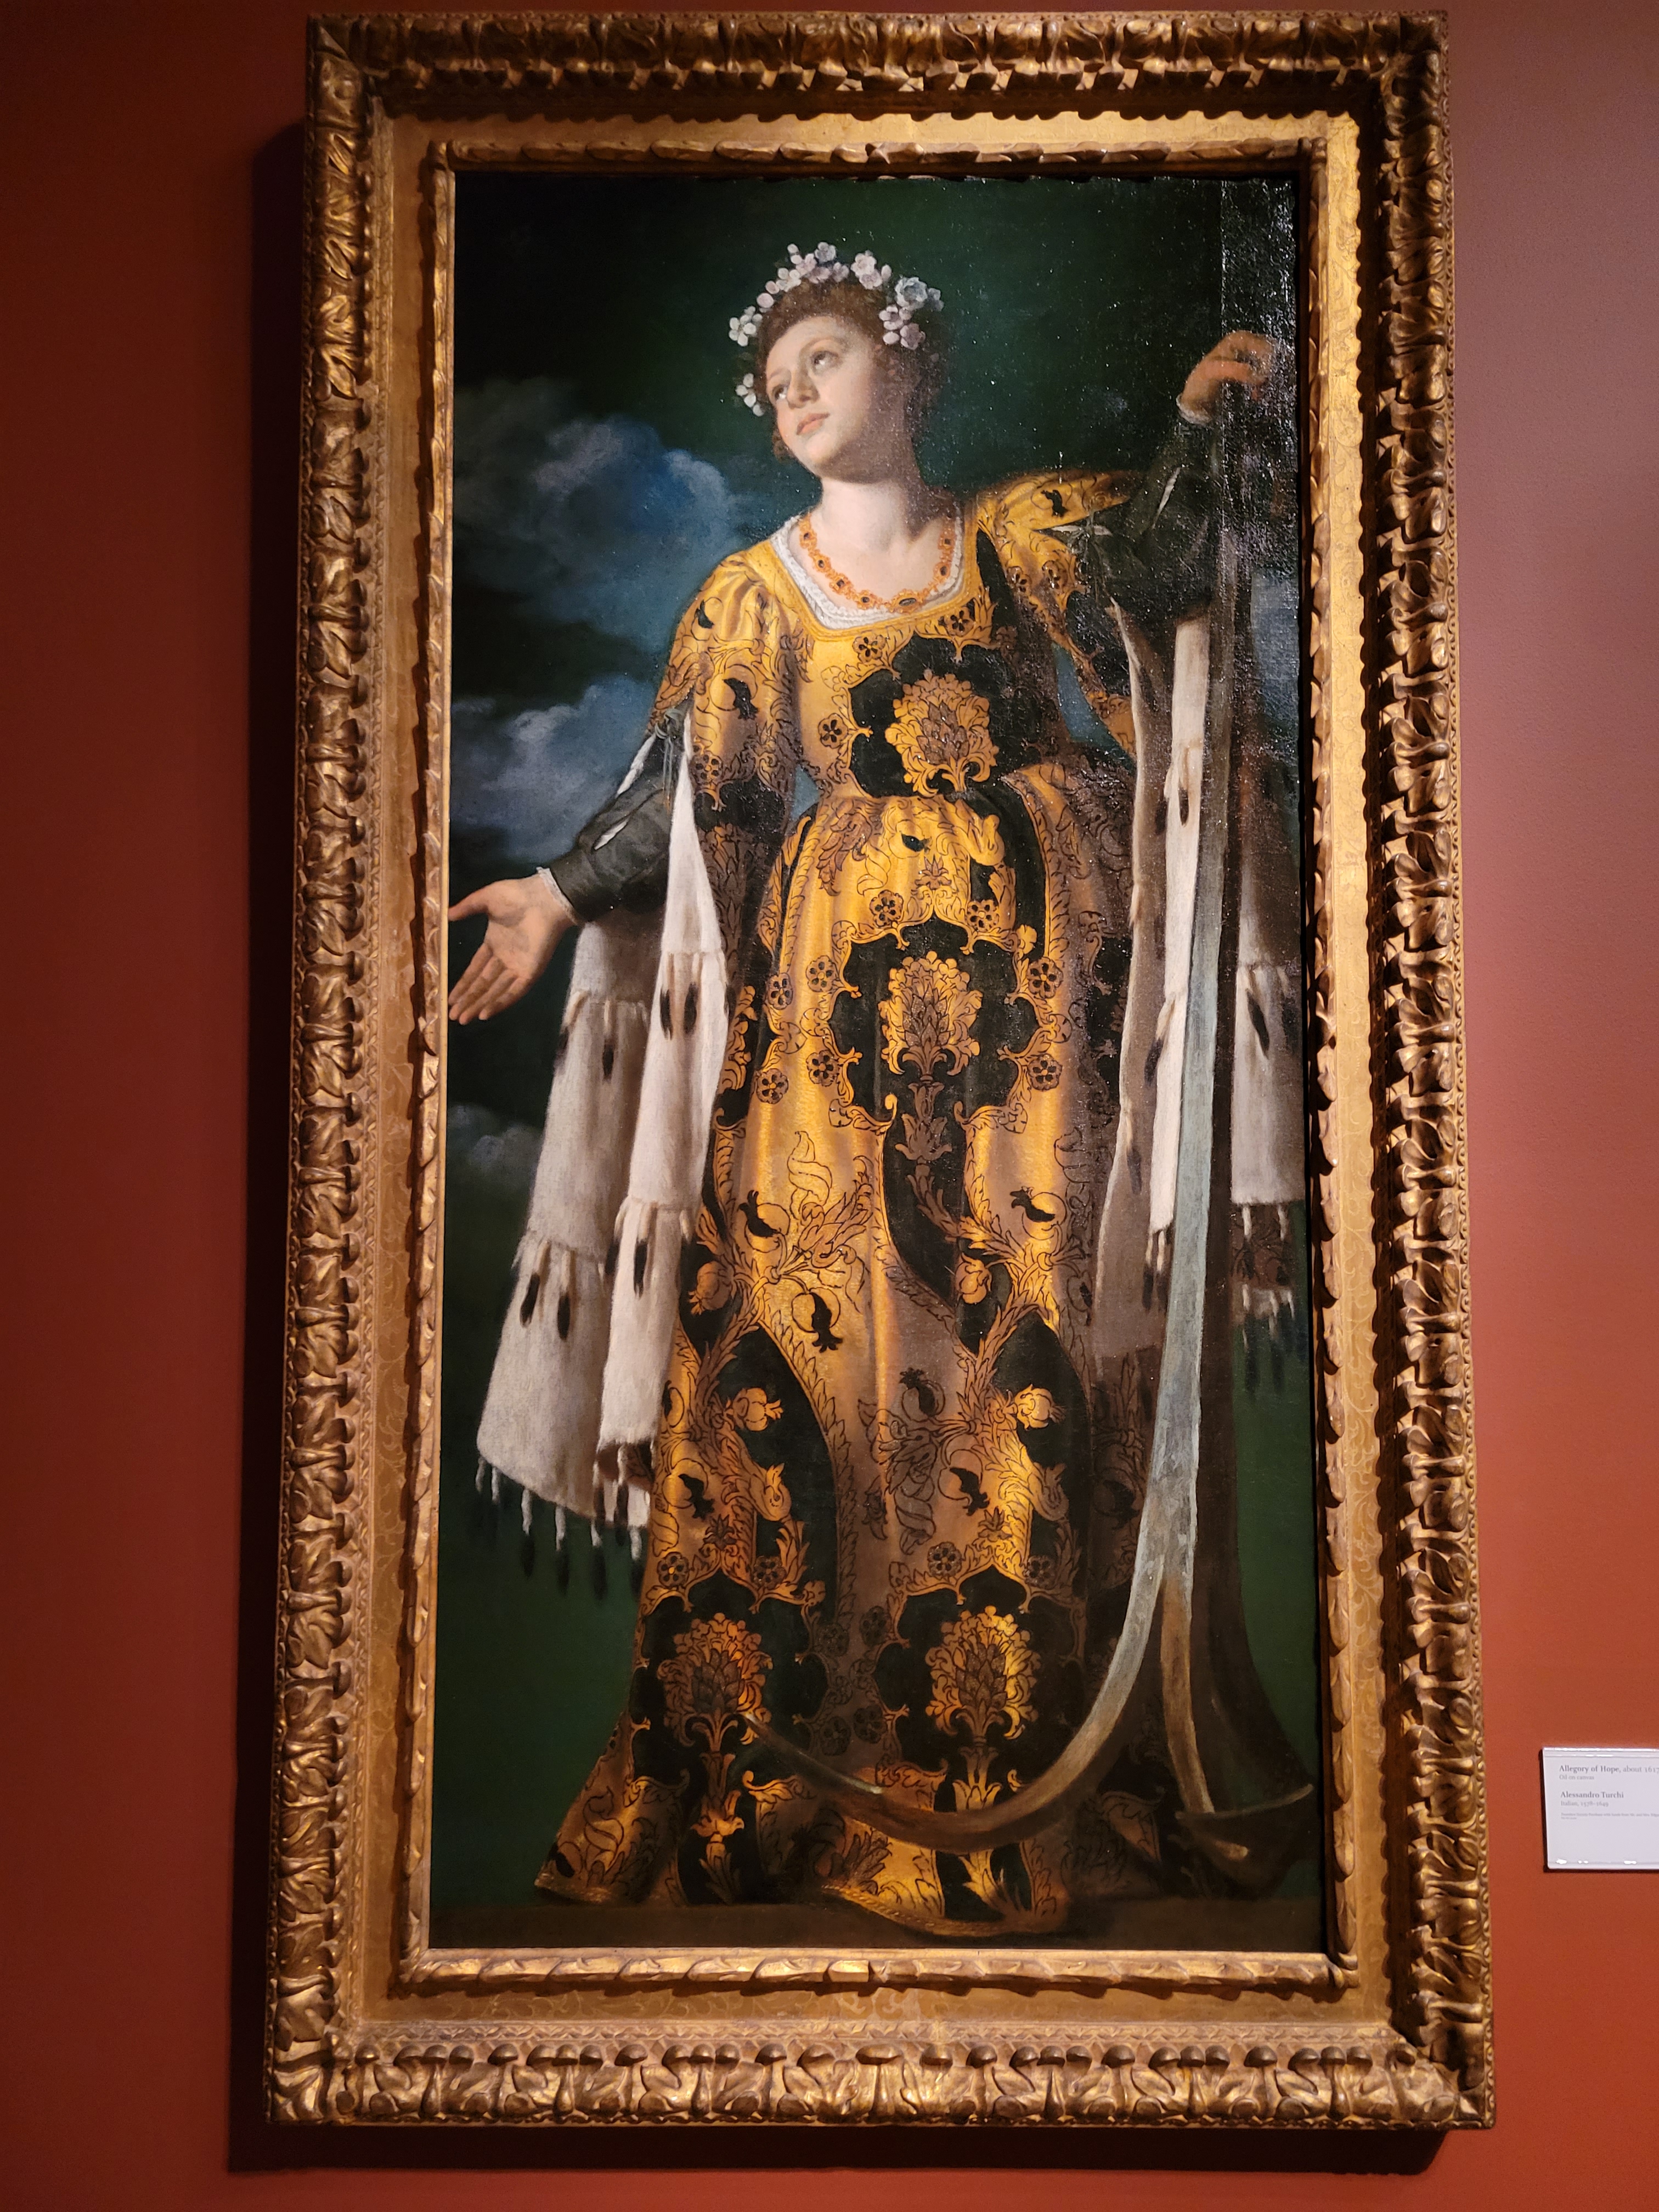
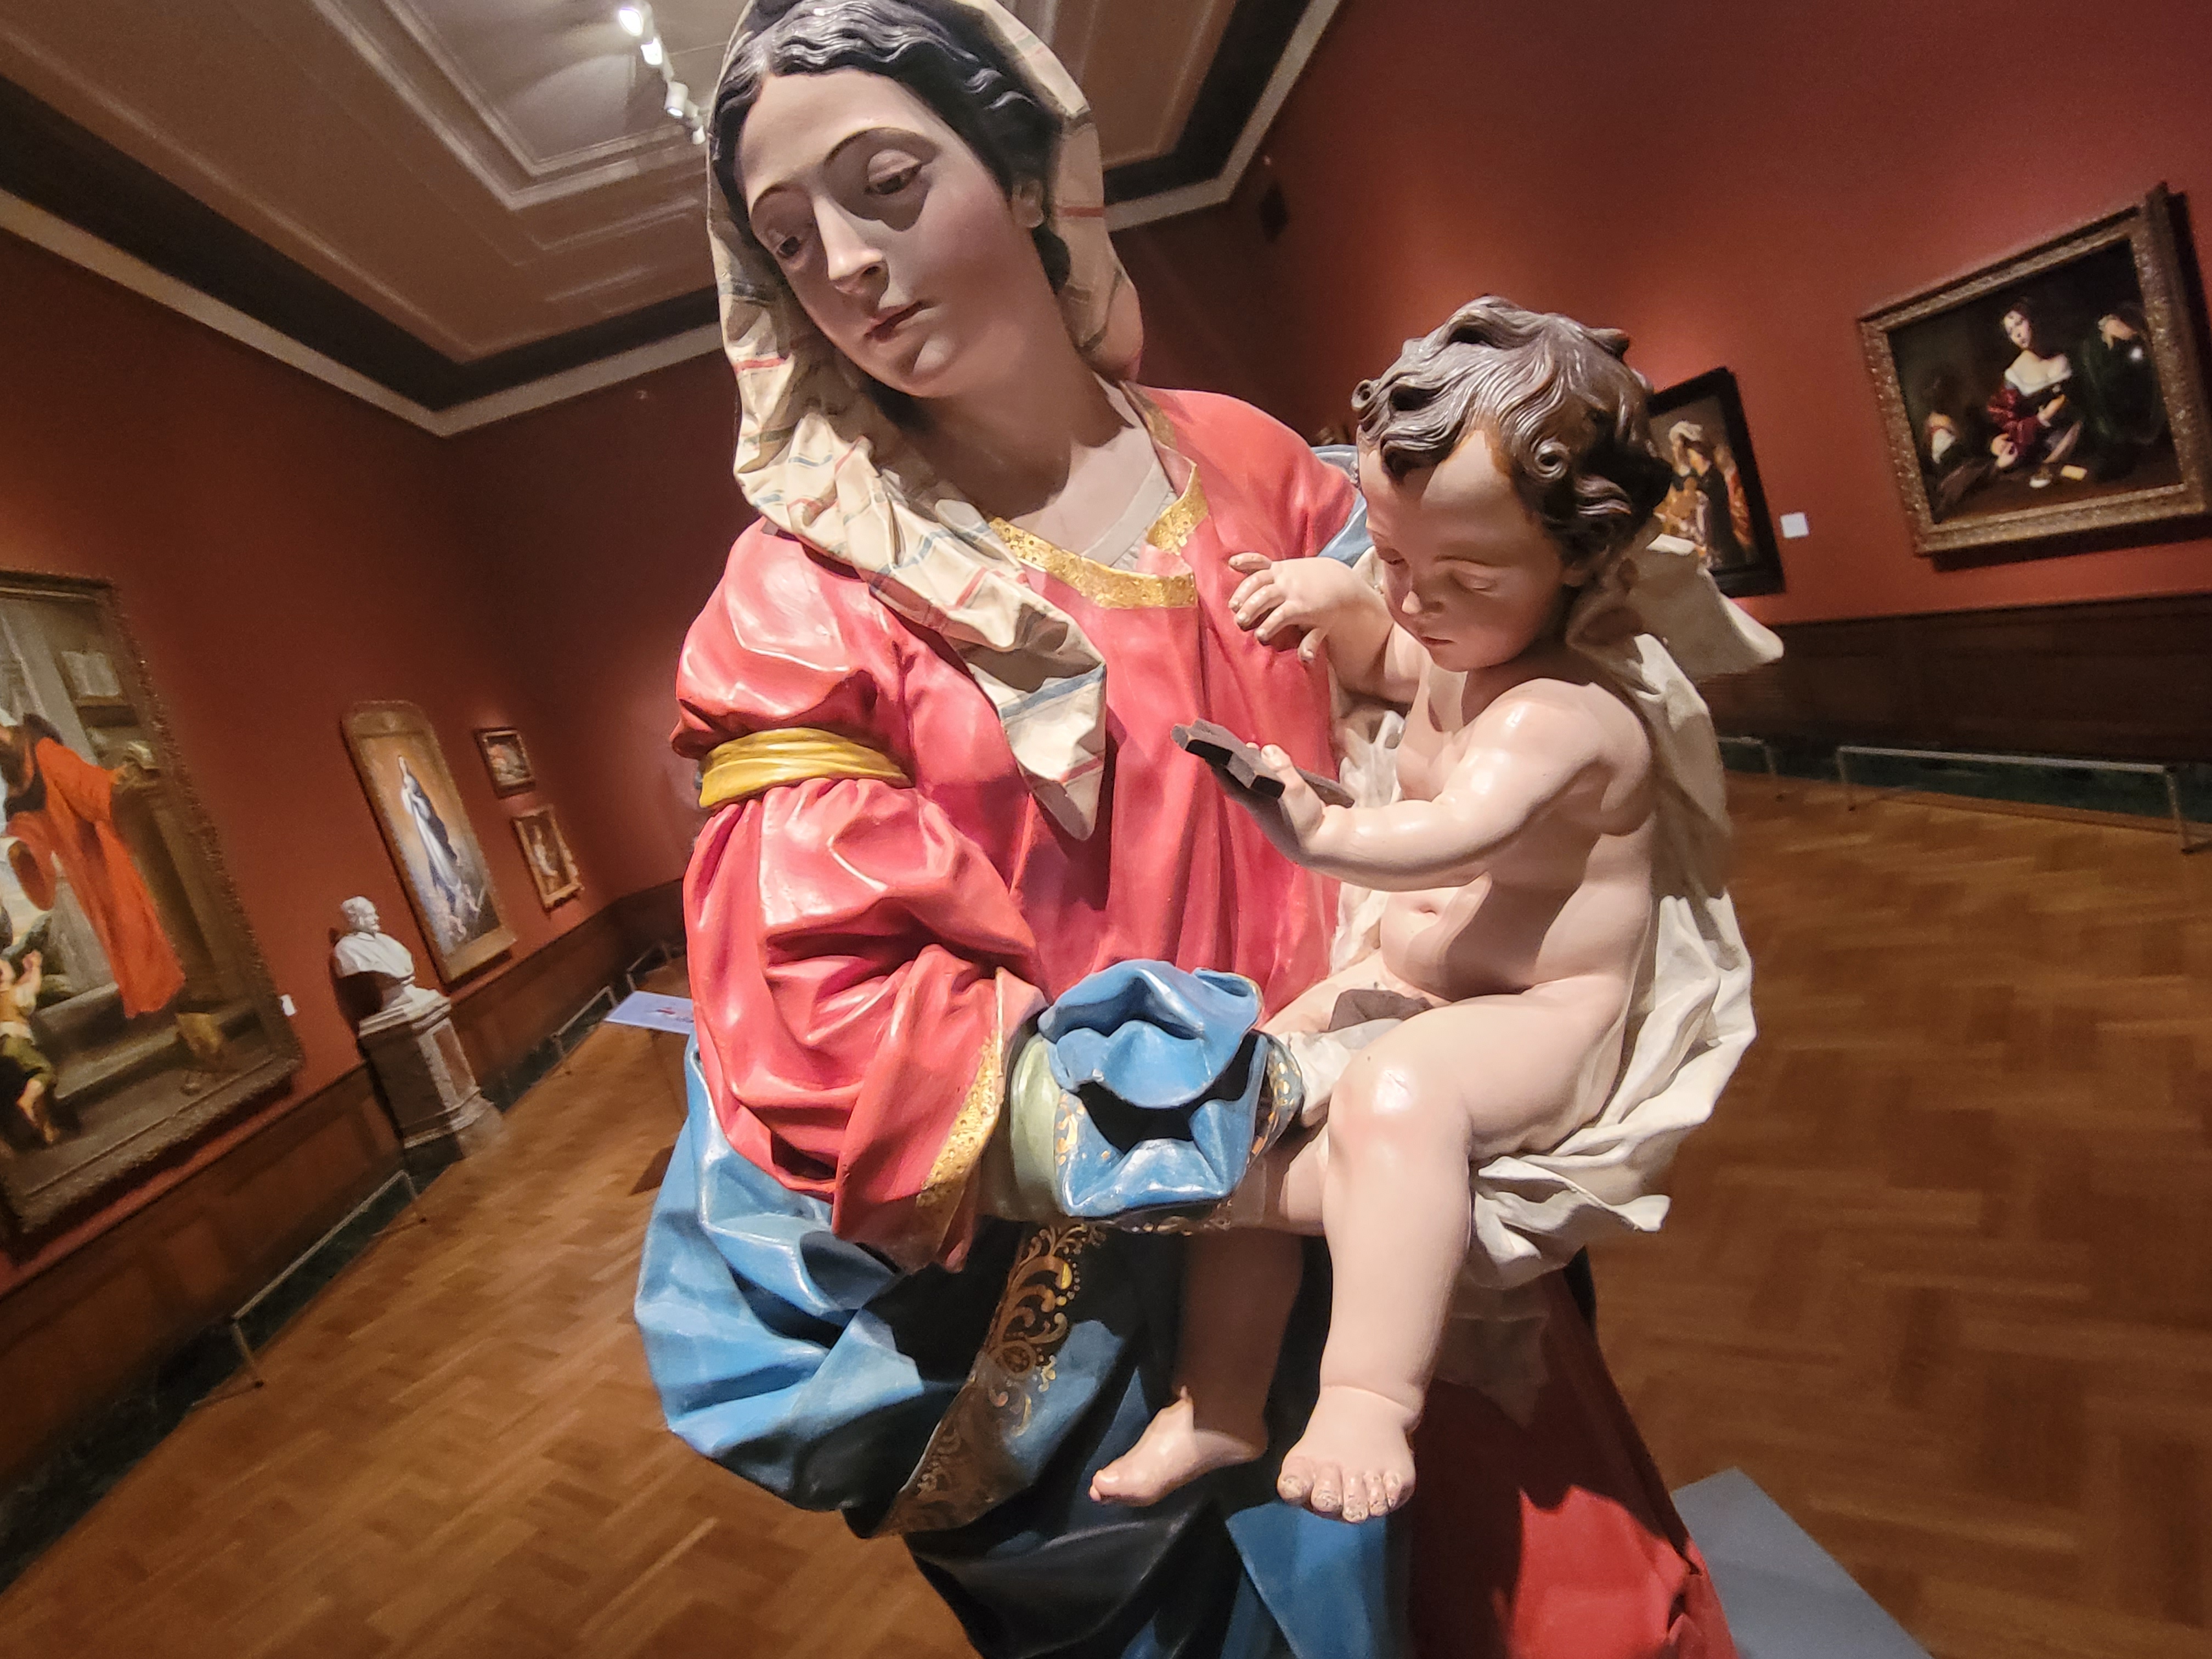
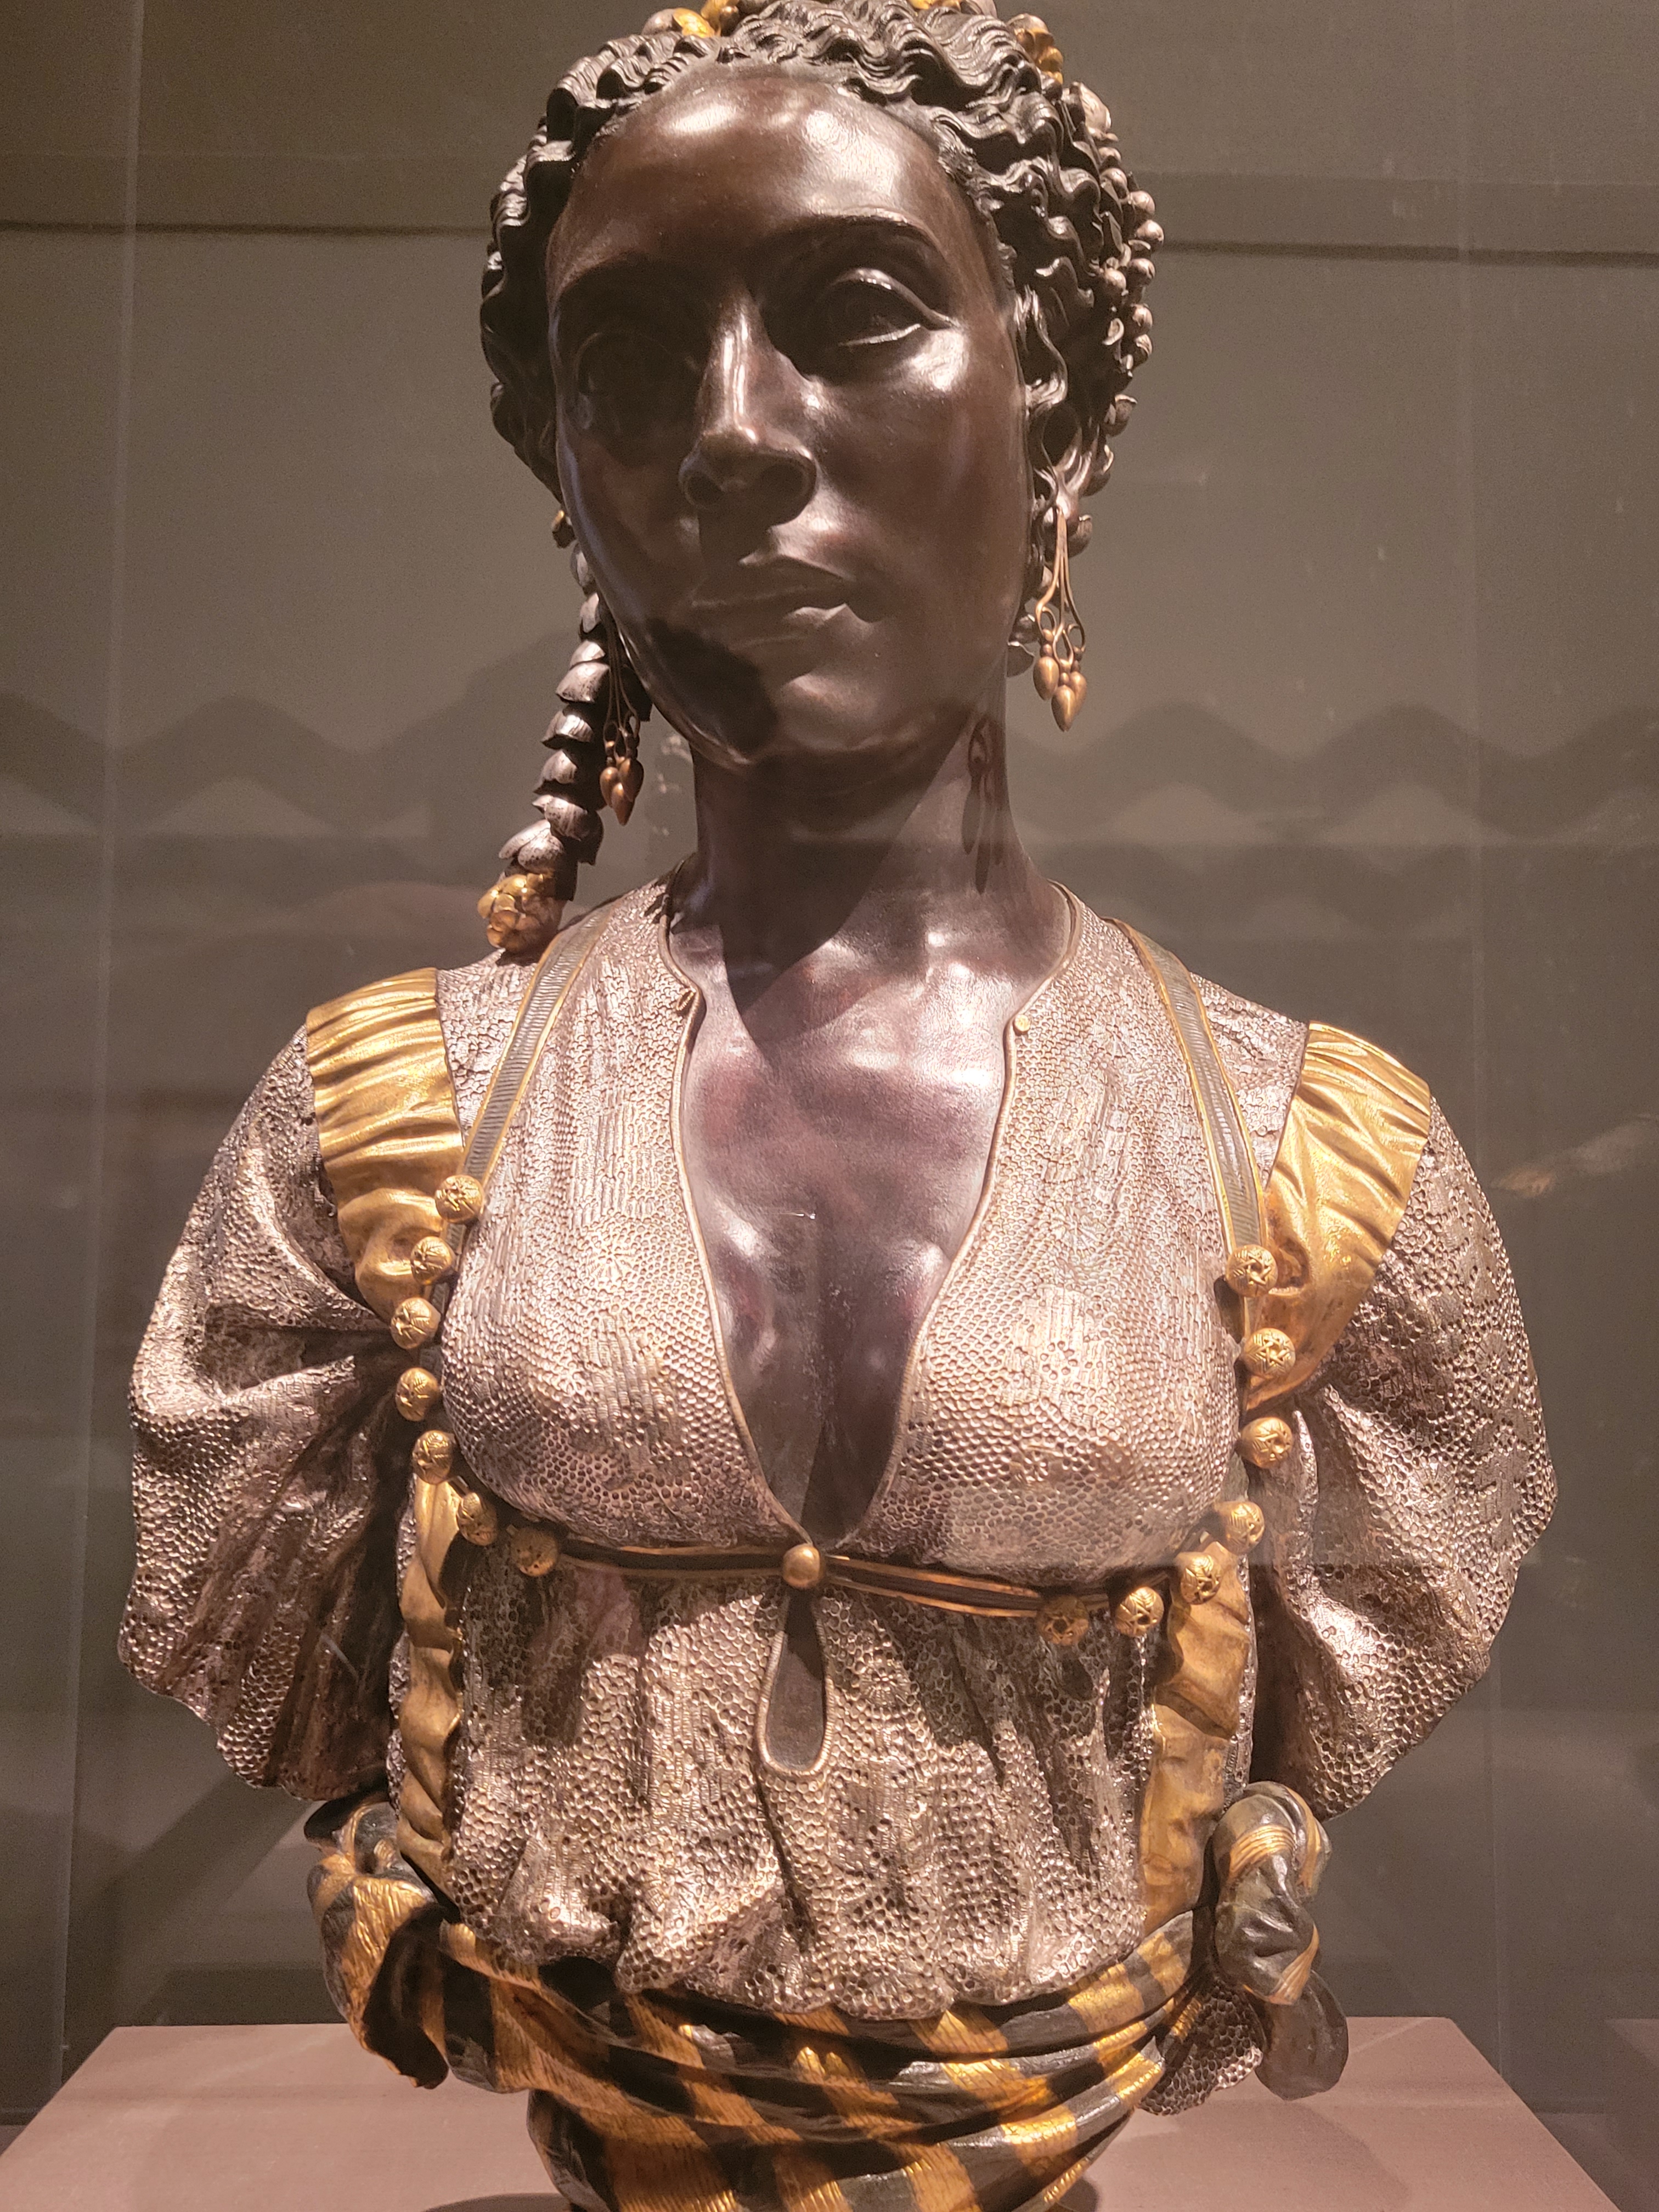
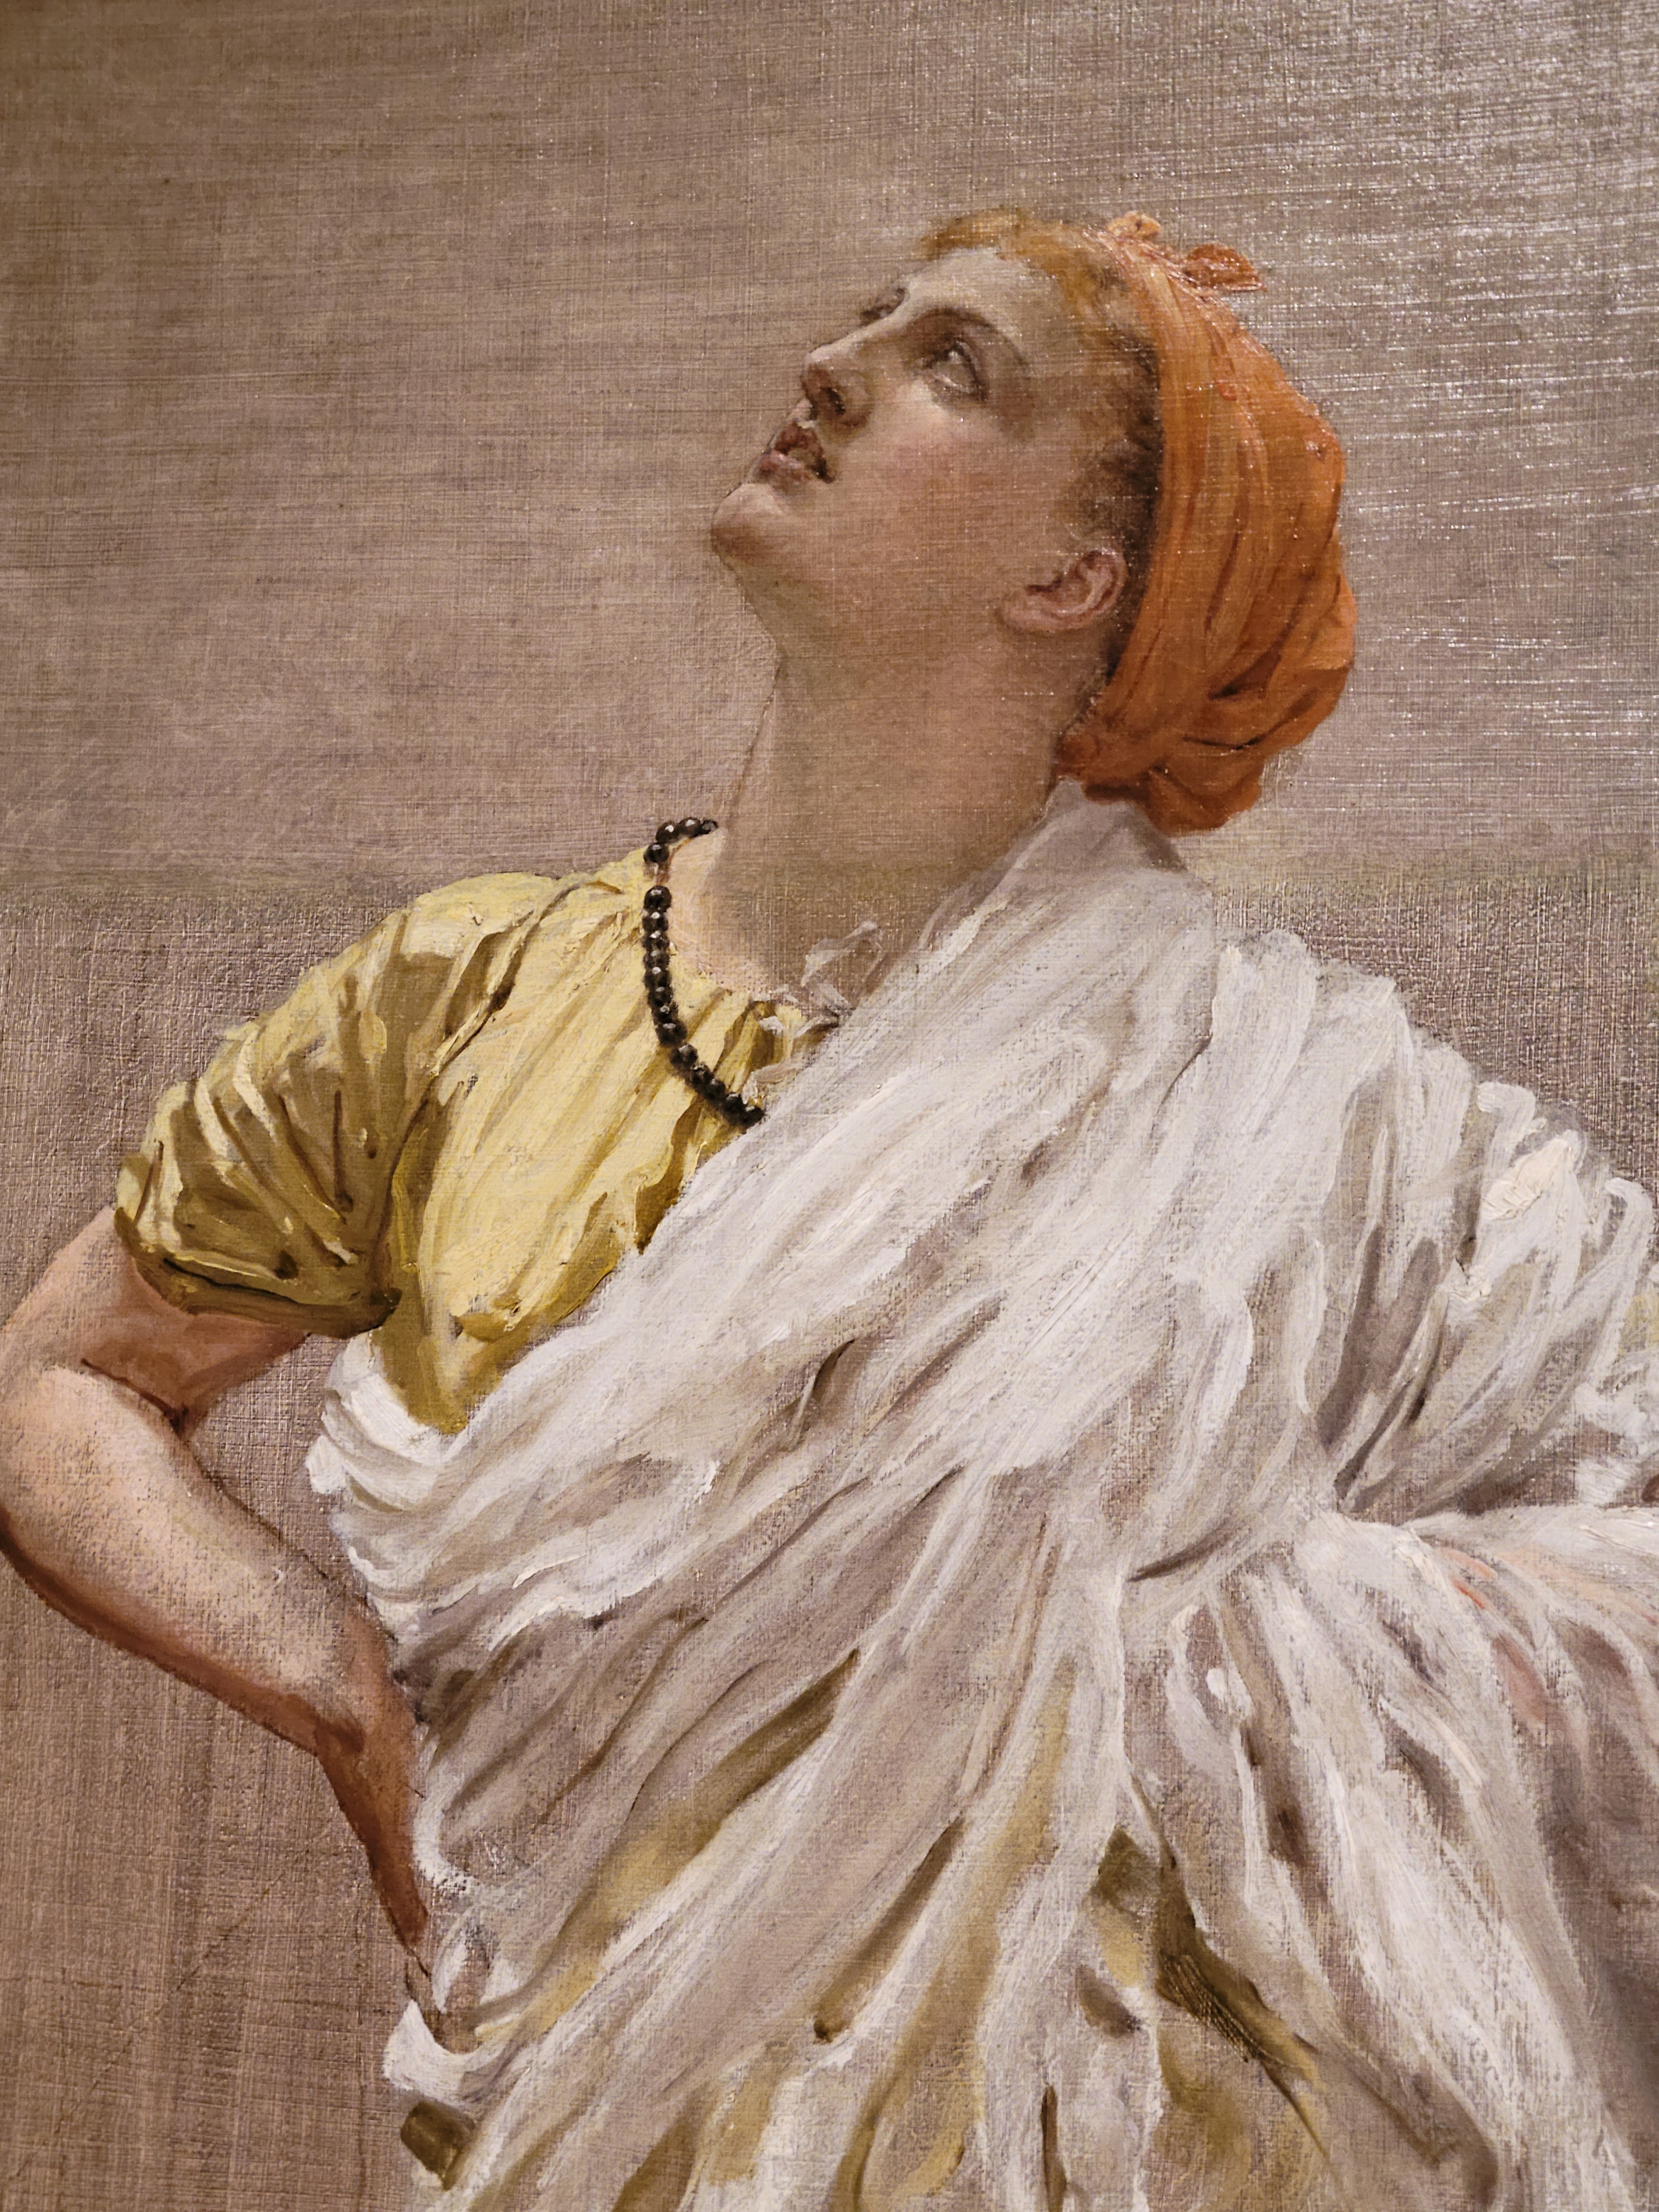
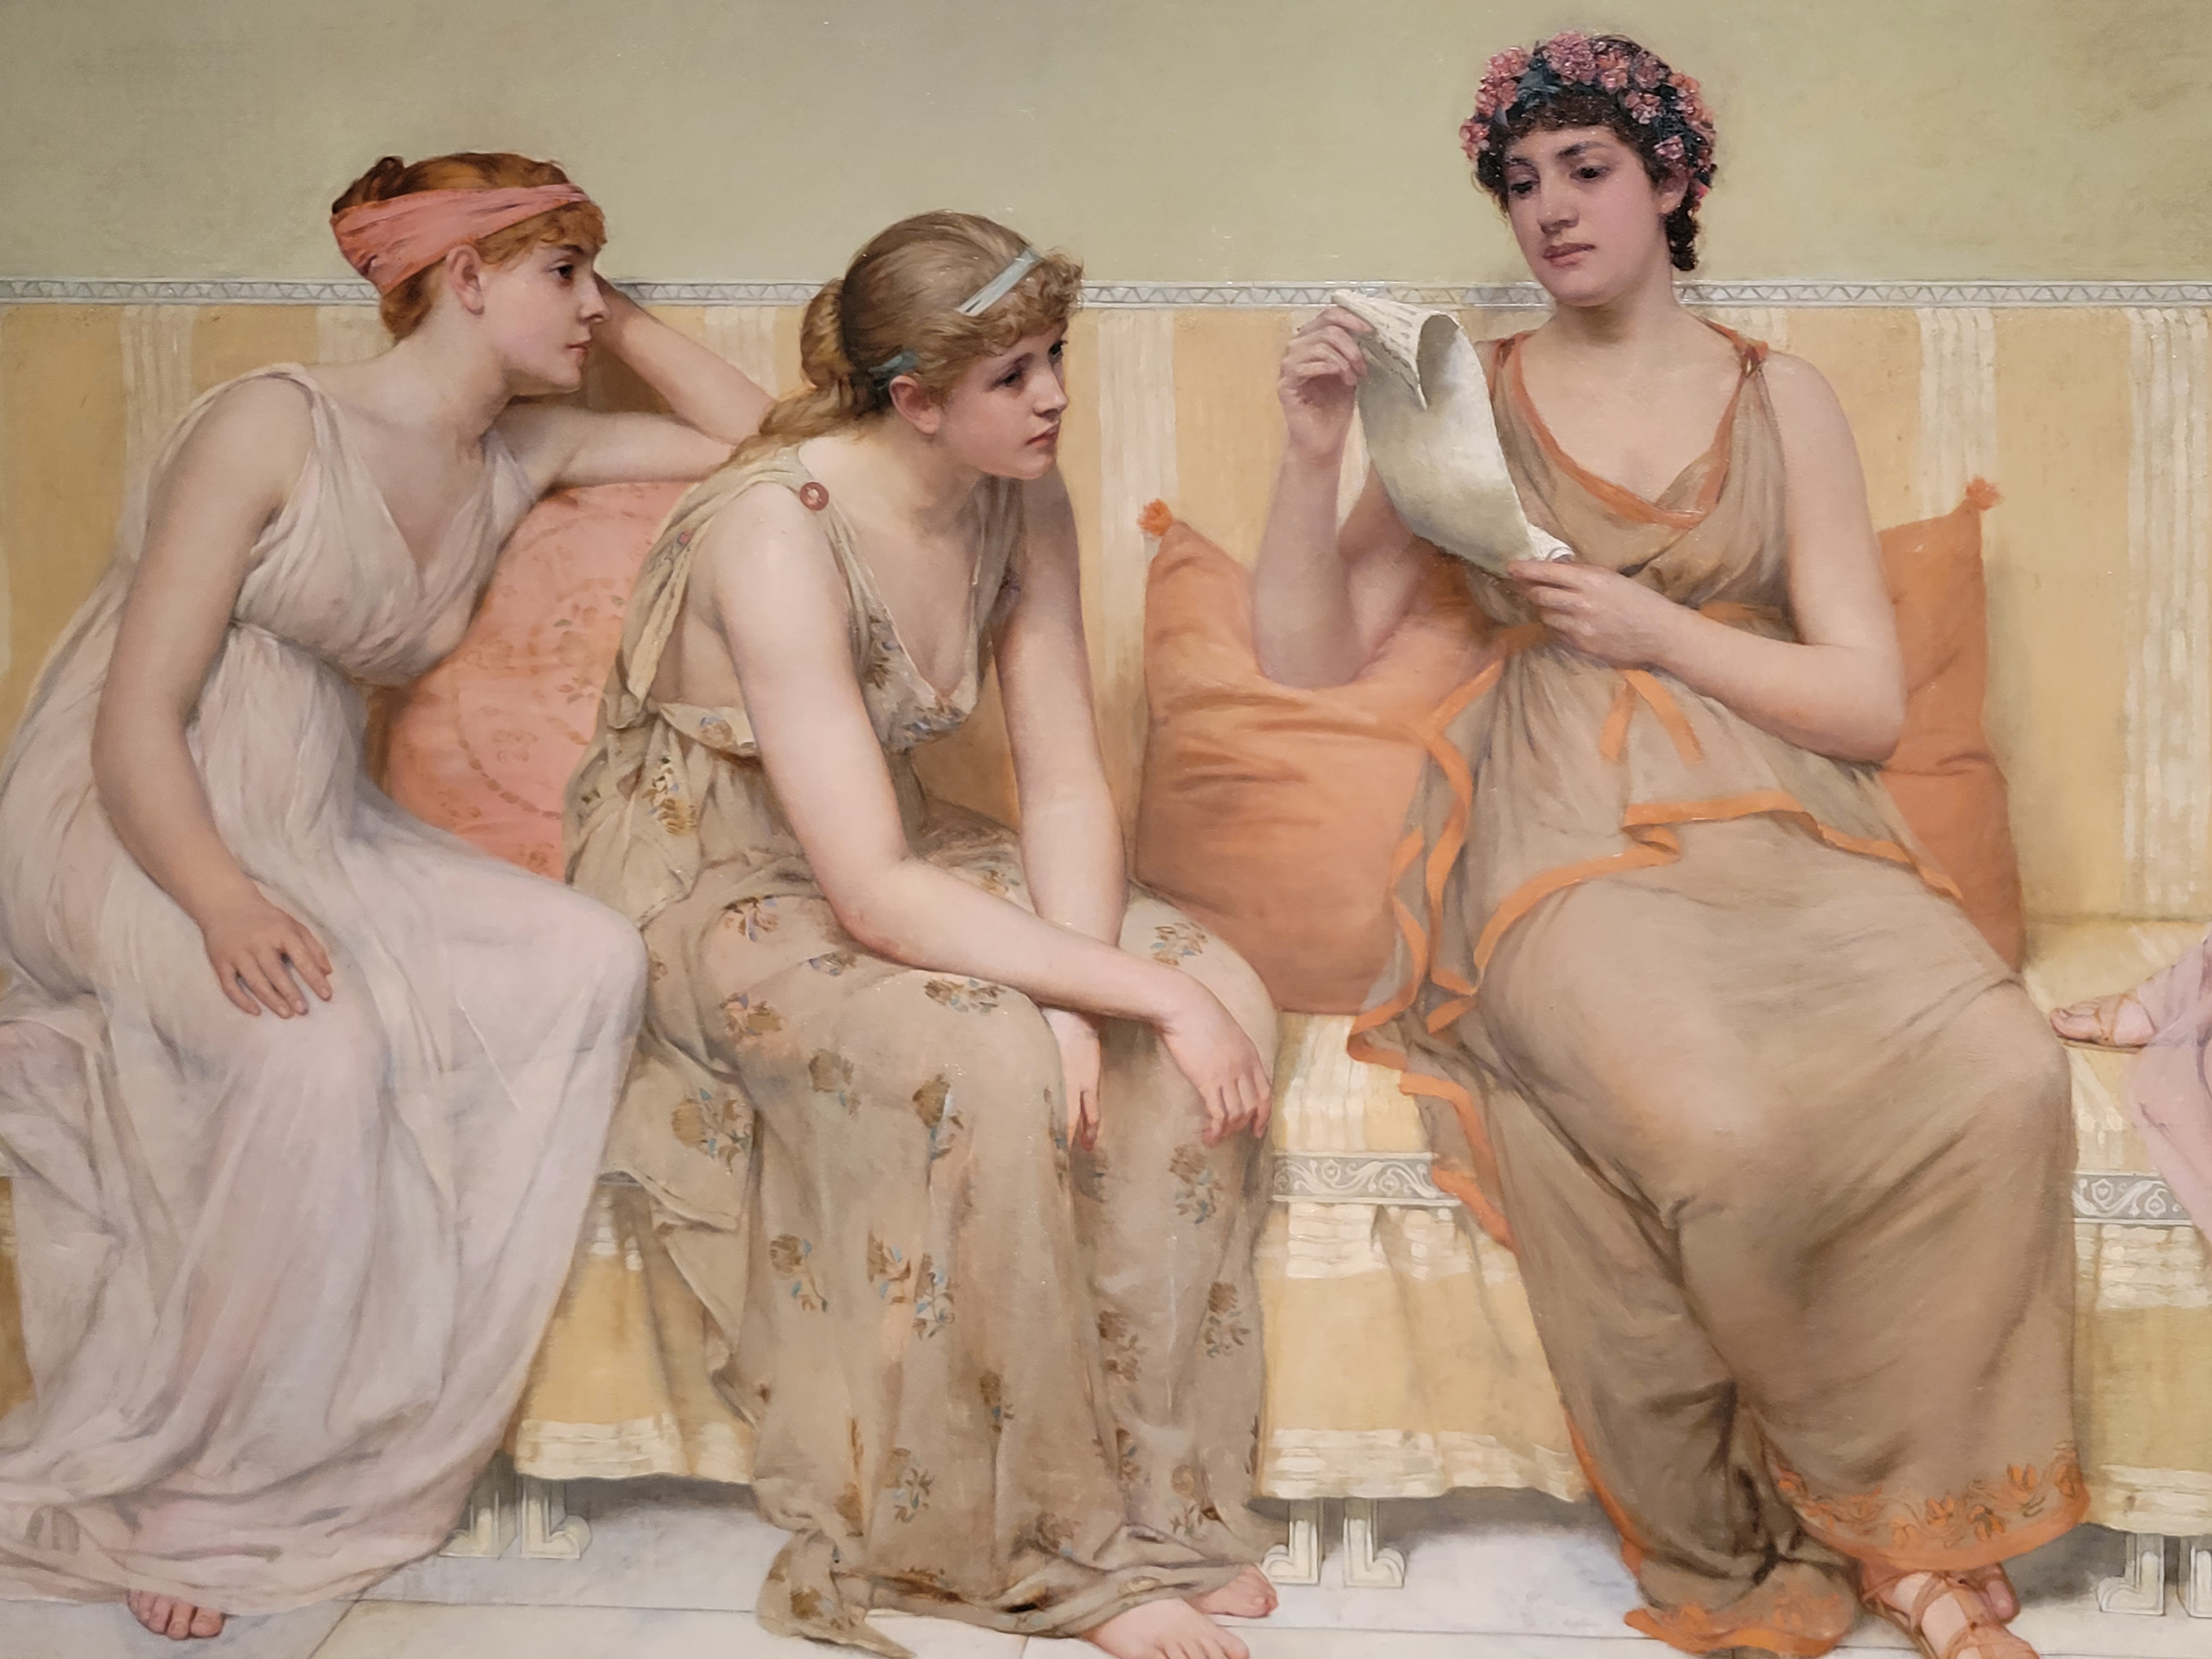
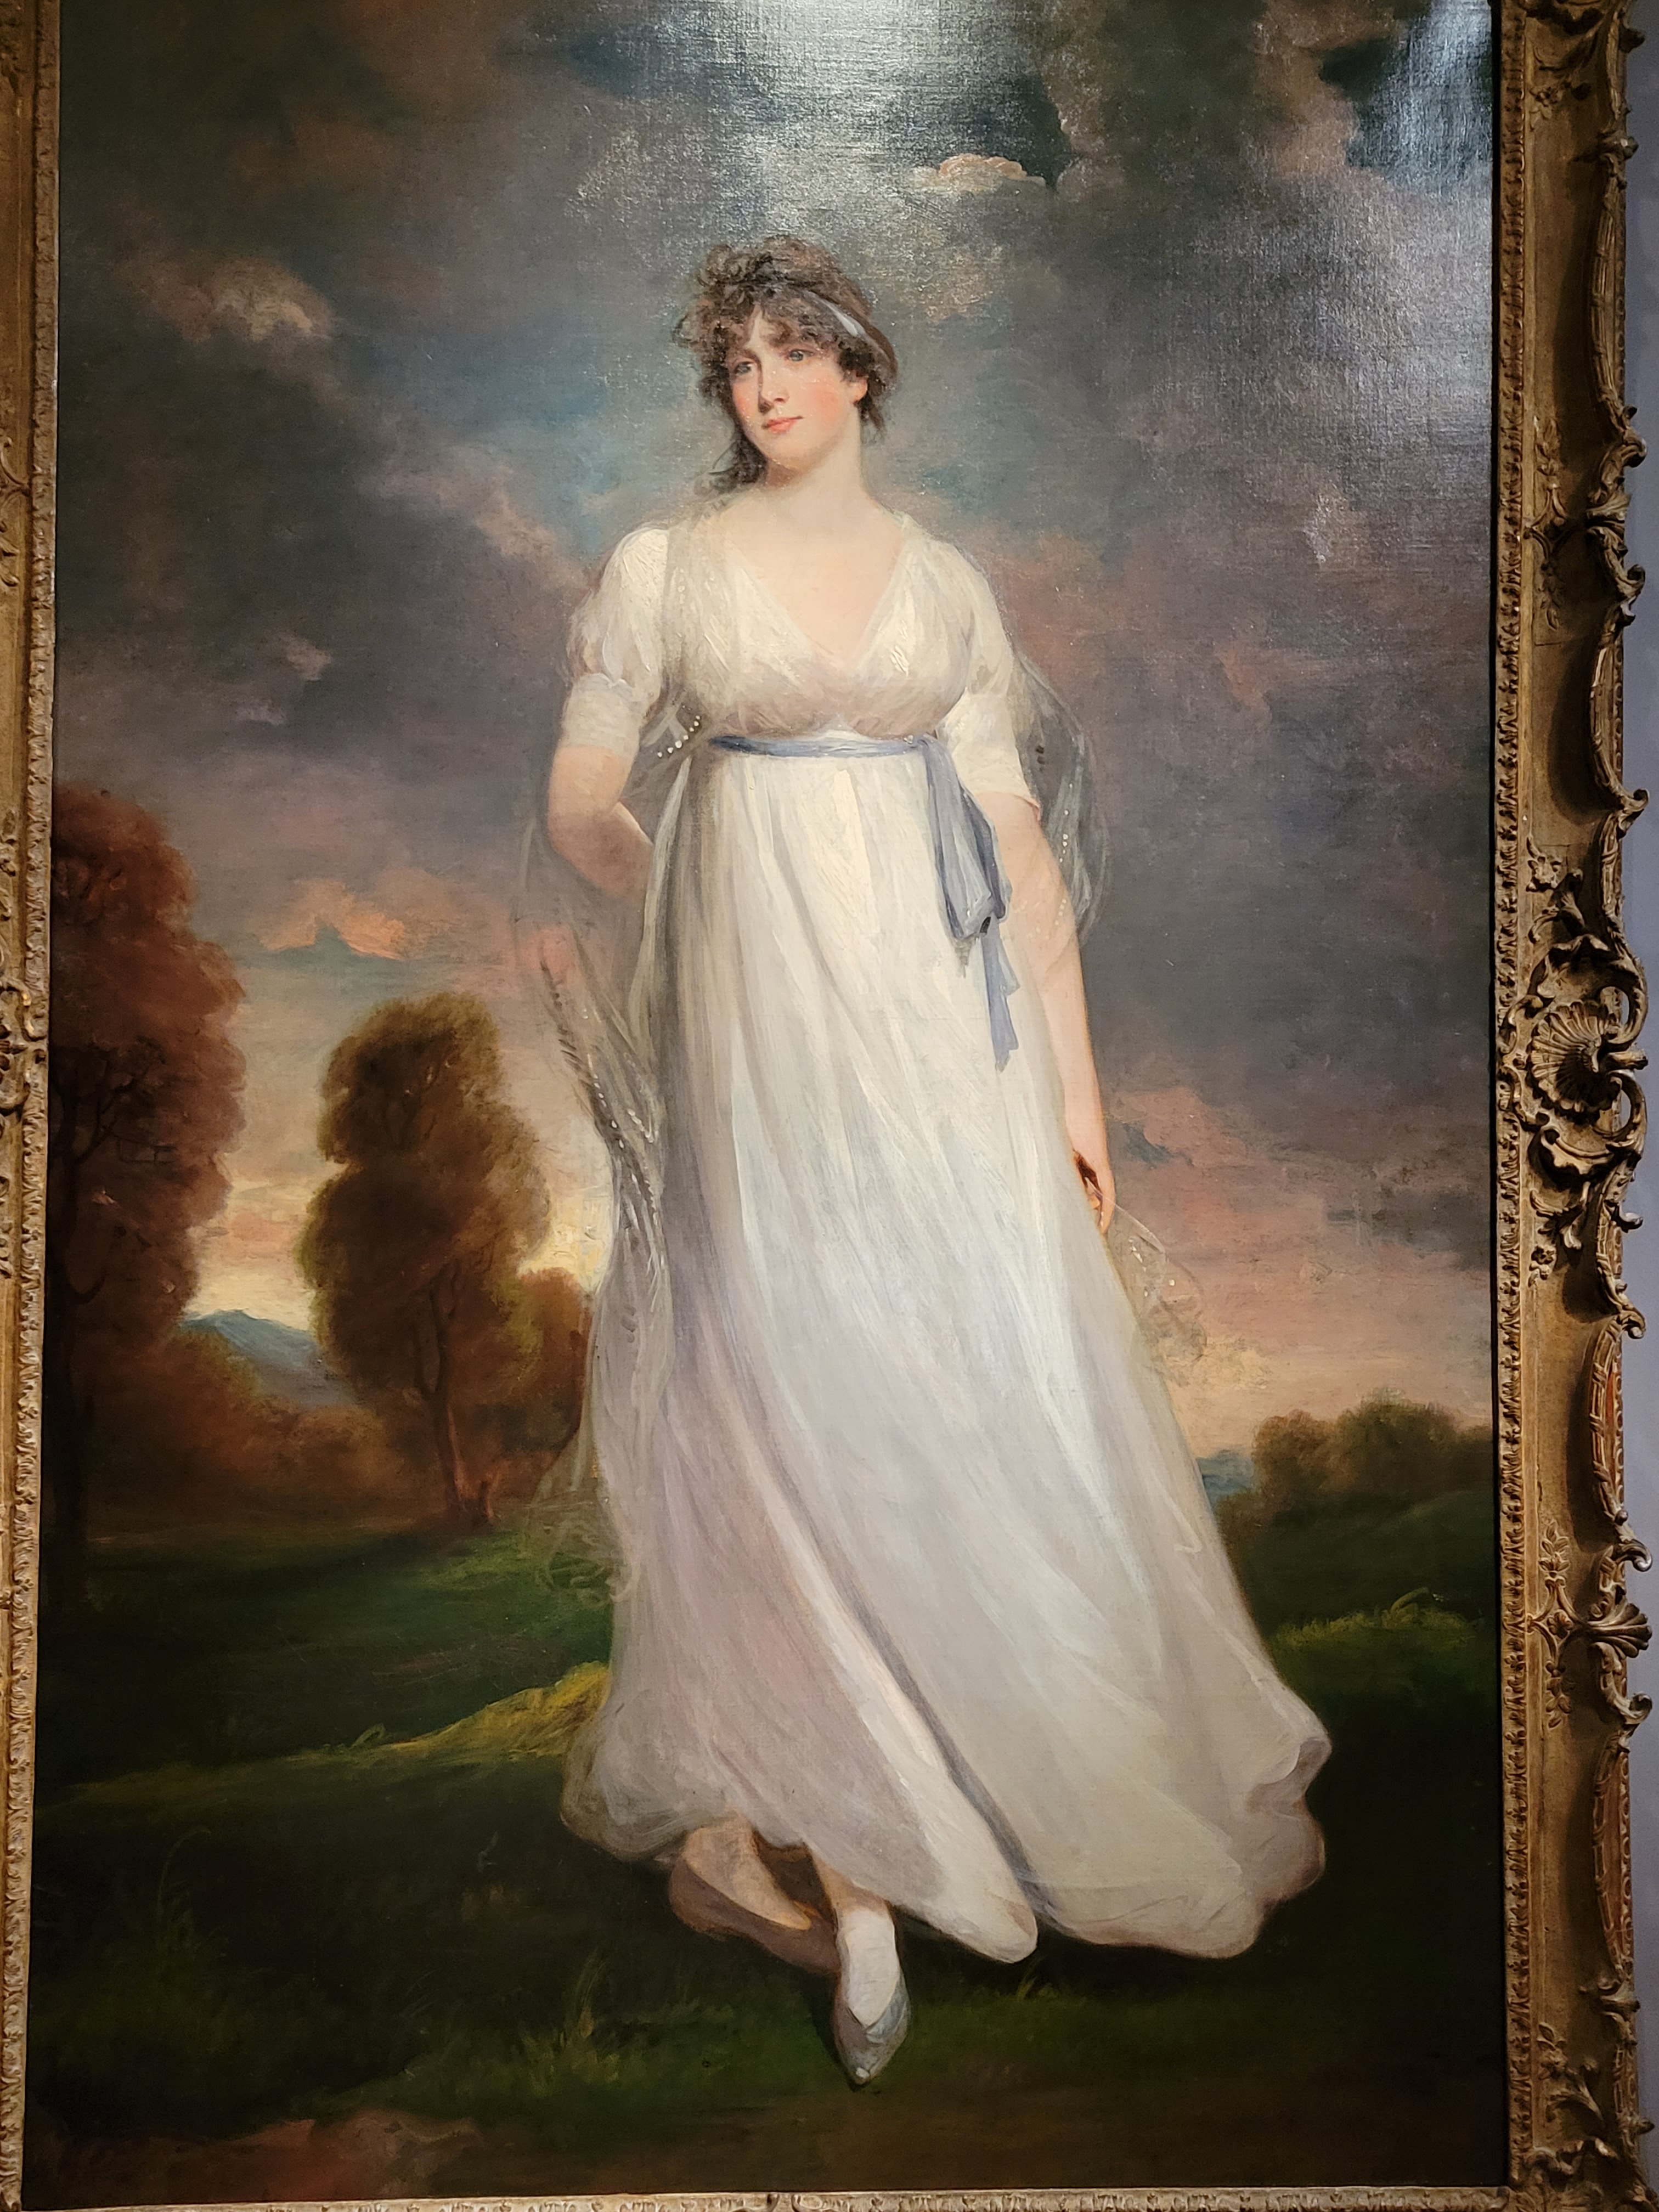
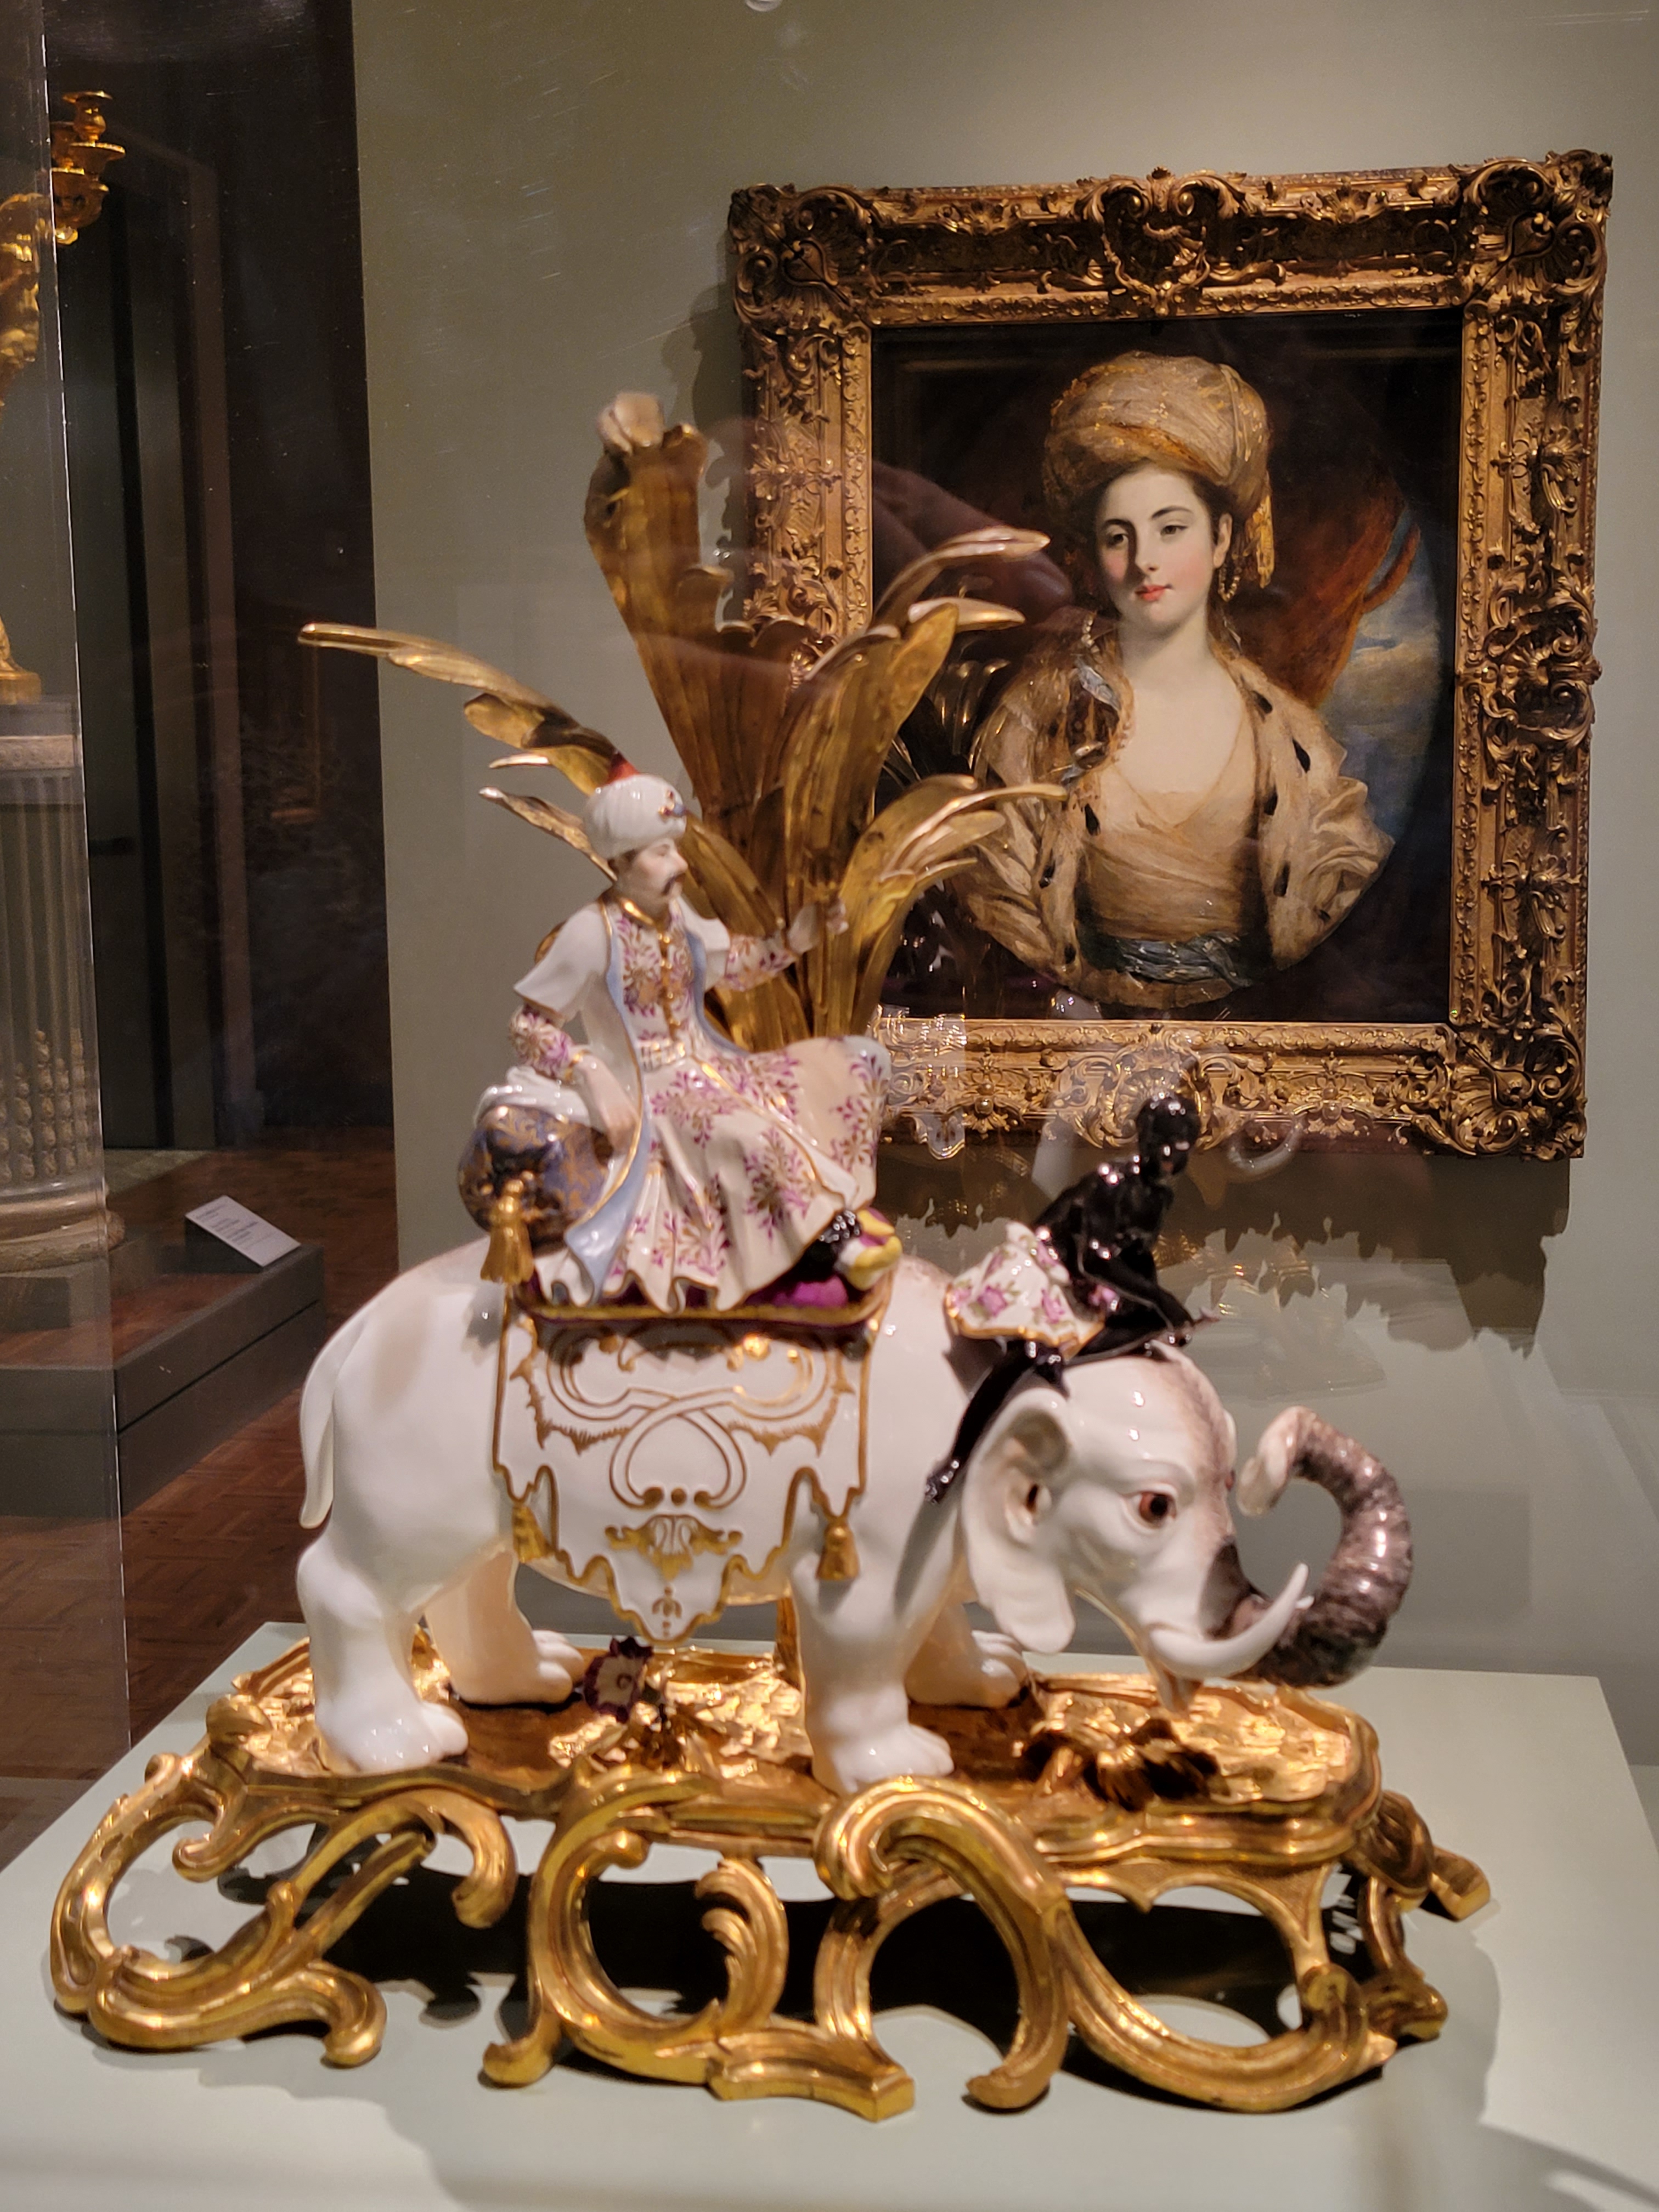
If you ever get the opportunity to go, I hope you’ll do so and leave plenty of time, so you can see it all. My husband took about 100 pictures and then he took almost that many more of the tags that went with them. I won’t show you all 100 or the tags, but I thought you might enjoy these portraits of women.


Heading Homeward
Far too soon, it was time to go. There were a number of unfamiliar variables, so I had allowed plenty of time in my schedule for trouble. I checked on the travel time from the museum. I added a little time for traffic, for finding a gas station, for fueling the car, for returning the car, for getting transported to the terminal from the remote rental car and so on and so forth.
Well, none of that happened. There was no traffic. Bill pulled off the road at an exit, found a gas station within a block and filled up without having to wait. We returned the car in moments and the bus took us immediately. We checked our luggage without a single delay and there was no line at security. Bill wasn’t happy, because he doesn’t like to wait. I was happy! After what we went through getting to Detroit, I was happy to be all checked in and ready to board. A vast difference in priorities there.
We got home safe and sound. Come back next week and see what we got up to next.