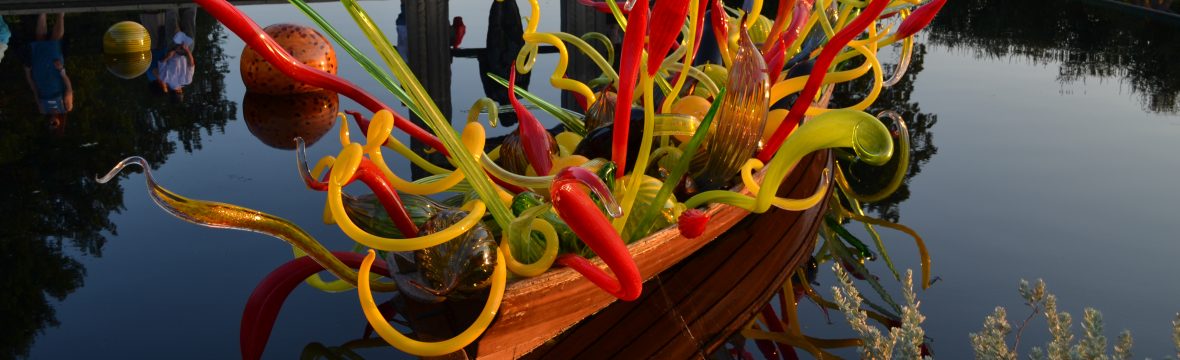

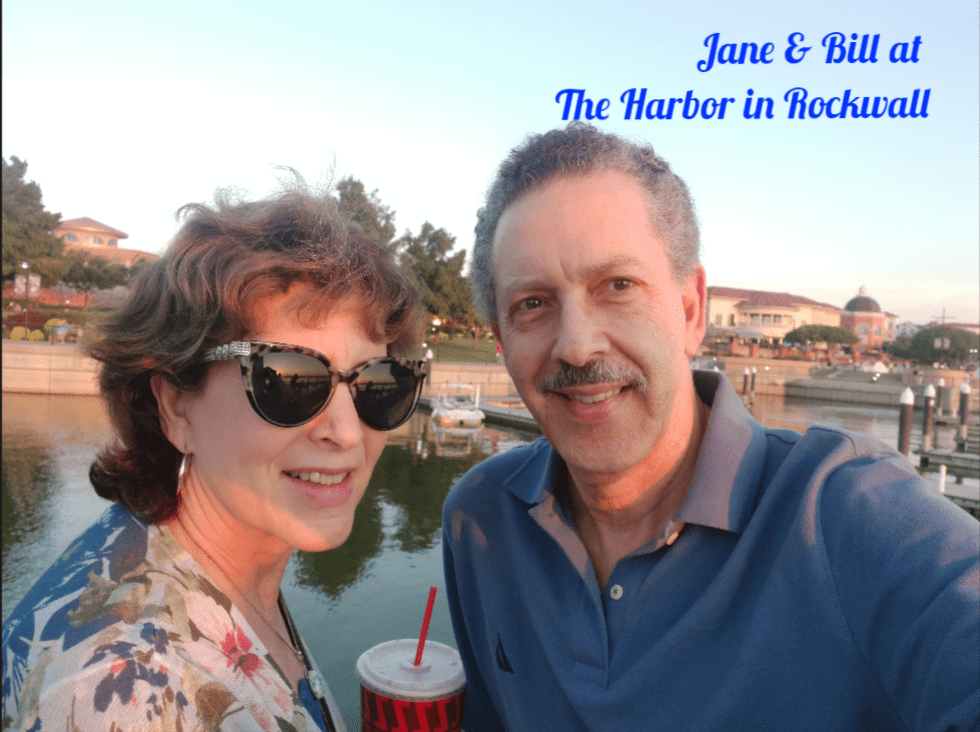
MEMORY KEEPING 101: EVERY IMAGE MATTERS
Every Picture Tells a Story
A picture is worth a 1000 words, at least that’s the old saying, but if you don’t know anything about the people, the place or the occasion then that picture probably isn’t worth two cents. I’ve spent time over the last few months talking about the FOREVER Library, Albums and Tags. These are great tools, but with FOREVER, each image has a lightbox (you might call it a work page) and you can use it to make sure your images are always worth more than a couple of cents.
The Top Bar

Let’s start with the bar above the image, but skip the first few, because you’re not going to need those until you finish with the rest of the choices.
When you’re in the process of adding value to your images, you may first need to Rotate. Back in the days before digital, you could take the photo any way you wanted and then any rotation needed was done in your hand. Using smart phones, photos get shot in all sorts of angles, so to see them properly in your in your lightbox, just hit Rotate. The photo will fall to the right. To get it the way you want, you might have to use rotate several times.
Edit is next and it’s a biggie. Remember when you had film developed. You were stuck with whatever you took, but that’s not the case anymore. You have a built in editor in your lightbox and it does a lot.

Above the photo are plus and minus buttons which allow you to make the image larger and smaller in the light box. It doesn’t actually enlarge or reduce the real size of the image. However, the first button on the bottom is your Transform button and with that you can change the size of the photo.
When you press Transform the screen changes again. Now at the top are buttons which allow you to flip the photo horizontally or vertically. There are also buttons to rotate the photos to the left or the right.
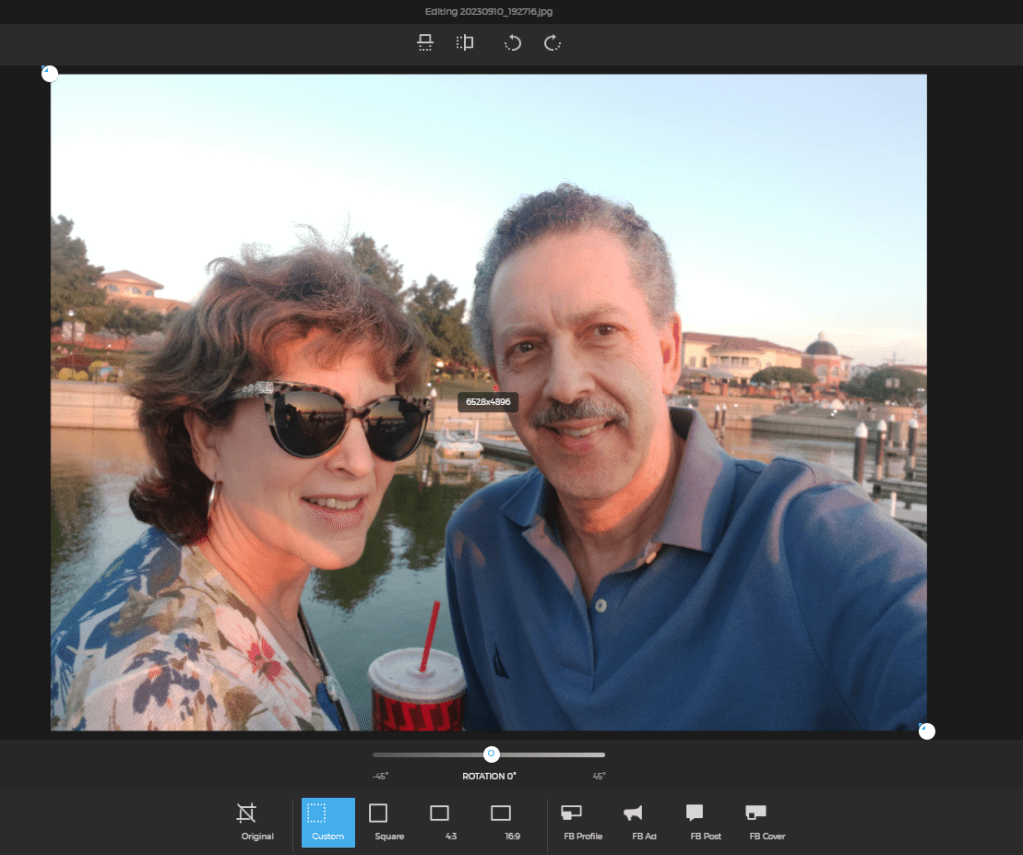
Right below the photo is the Rotation selector. Instead of flipping the whole image, this bar will allow you to tilt the photo to the right or the left, so that everything can be square, even if you help the camera atilt.
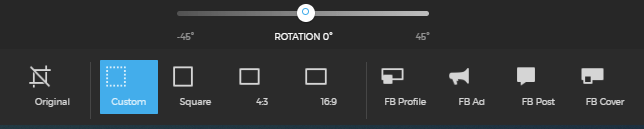
At the bottom, you get to choose the size and shape of your image. Many of choices are pre-determined to help you out. You can choose square, 4:3 or 16:9. 4:3 is a sort of standard photo ratio and 16:9 is commonly known as widescreen.
The 4:3 aspect ratio describes a width of four units and a height of three units. These can be inches, lines, or pixels, depending on the object with that aspect ratio. When you divide the values, that is the width by the height, you get 1.33 (4 divided by 3 is 1.33)
https://boords.com/blog/what-is-the-4-3-aspect-ratio-definition-and-examples
But FOREVER is not through helping you. Most of you know Instagram likes squares, but if you do Facebook and have ever been frustrated trying to create a Profile Pictures, Ad, Post or Cover, here’s your solution!
If you’ve fiddled around with all the ratios and decide it was best to begin with, just choose Original. Whatever you choose, click the arrow on the bottom left to return to the lightbox and when you get there, be sure to save in the upper right hand corner.
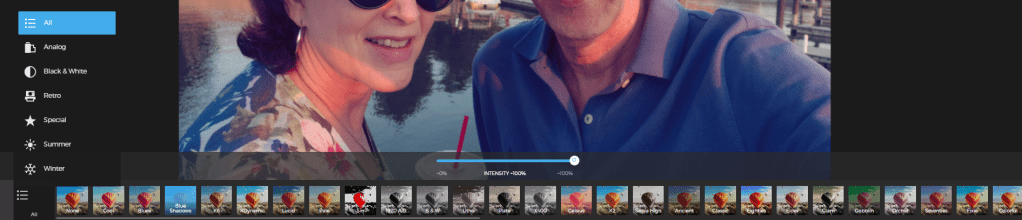
Back in the lightbox, if you select Filter, then you’ve got a world of filters to choose from. I don’t use them much, but many people do. If you click the list icon, you’ll be able to access filters sorted by the types listed.

After Filters in the lightbox, you can choose Adjust. This is getting pretty fancy and most of us don’t get this deep, but I wanted you to know it was there. If the filters can’t fix what you think is wrong with the photo, then you have all these tools. When you click on each of them a scale will come up from -100% to +100%. Play around with them, see what they will do. You can’t mess the image up, because once you use the arrow on the left to go back to lightbox, you can say UNDO!
Next after Adjust in the lightbox is Text. Whether you want to put an X on a treasure map or just make a caption to go on your Christmas Card, here’s how to do it. When you click the Text button, you’ll see a text box. It will say, “Double Click to Edit”. You have a choice of size, font and alignment. Say what you want, change the font, change the color, change the size, change the alignment and move it where you want it. When you get back to the lightbox, you can undo or save. If you save, it create a copy. You always have your original, unless you choose to delete it.

Want stickers instead? Yes FOREVER’s got that, too. Right after the Text button is the Sticker button.
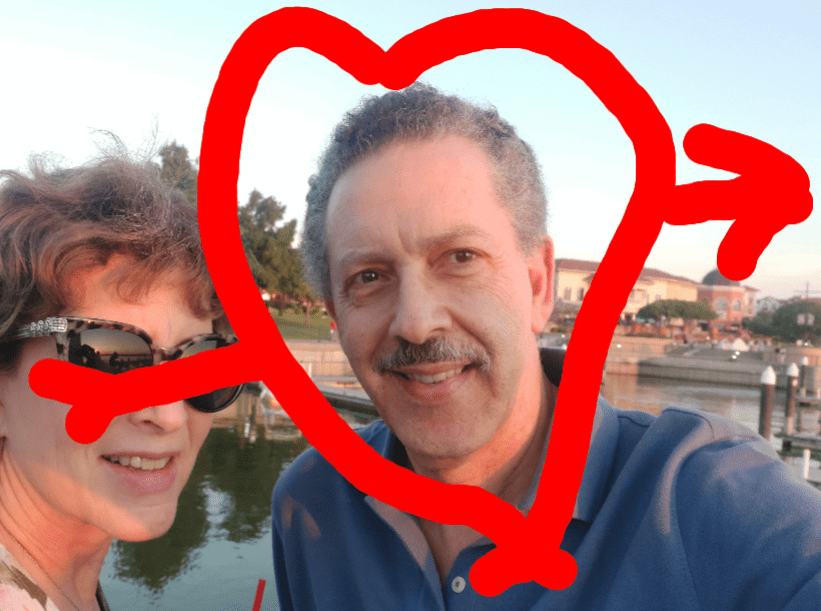
And after Sticker button is the Brush button. You can change the pixel size of the brushstroke and the color.
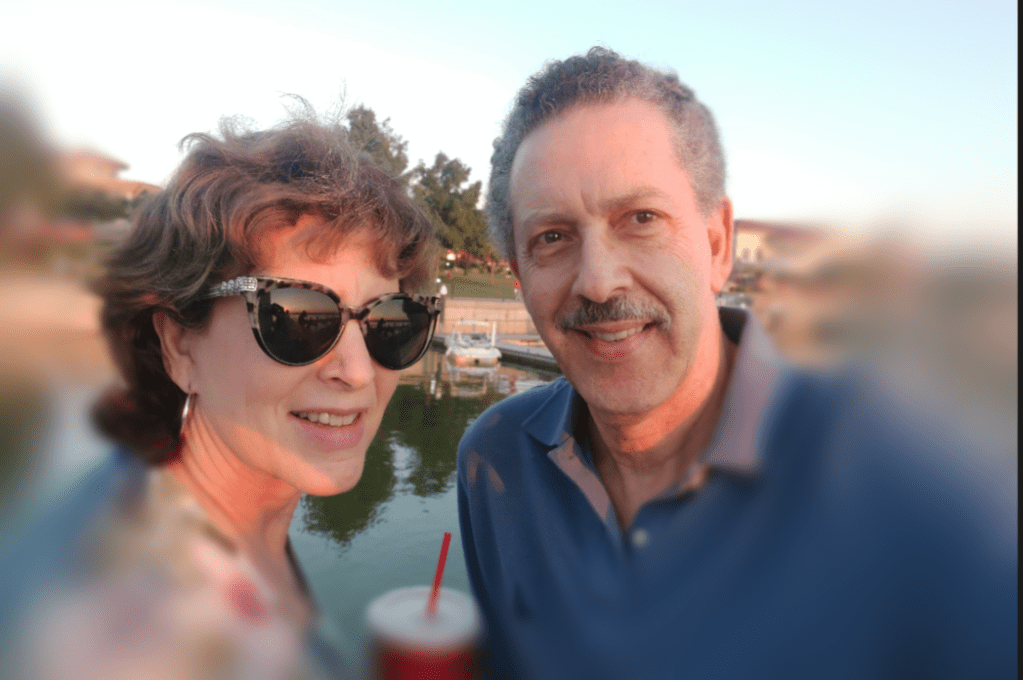
Do you see how I blurred out the background and put the focus on Bill and me. That would be the Focus button. There is both radial and mirrored blurring and you have a scale to select how much blurring you want.
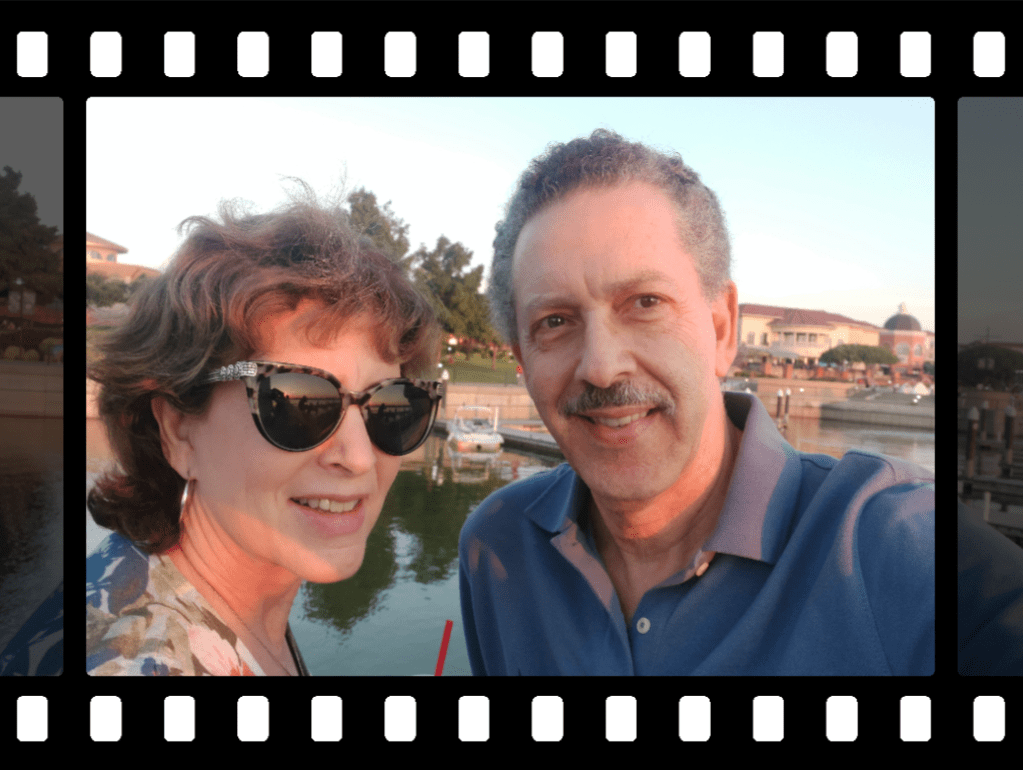
Frames, your final editing choice lets you add a fun frame to your image. There’s this Film Frame, an Art Deco Frame, Polychrome, Wooden and more.
Back at the top in the lightbox, there’s Slideshow, which will start a slideshow and more through the album or library. When you’re done, you may decide to Delete the photo or Order Prints, but you’re more likely to want to share it.
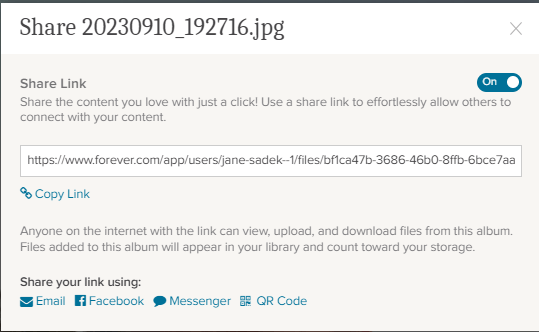
When you click the share button this is what you get. It’s easy to share, but be careful! Know who you are sharing with, because giving them access will allow them to view, upload and download files from this album. They can’t delete anything, but if you start finding odd photos in your library, this could be the reason. All you have to do is delete them and turn off that share link.
There’s a lot more you can do in your lightbox, but I think this is enough for today. We’ll come back to the Info, Tagging and Albums sections later.

